Outdated ContentThis guide was written for an older version of LetzAI and may no longer be accurate. Features, interfaces, and workflows described here may have changed significantly.

LetzAI V2 training guide
Here's what you need to consider to get the best results
This guide is also available as a video on YouTube:
The first part of this guide is dedicated to covering all the basics that are true for every training with LetzAI V2. No matter if you are going to train a person, object, or style model the images you choose to train are extremely important.
In the second part, we will take a closer look at some exemplary use cases to show you exactly what else you should pay attention to.
1. The Basics
- High-quality images: Only use images with a high resolution and clear visual details. Do not use low-resolution or blurry images. The minimum resolution of your images should be 1000x1000px.
- Relevant and representative images: Use images that represent you or the object you try to generate with the model. They should display key features you want the model to learn and nothing else if possible.
- Be aware of the use case: Think about what you want to generate and how it should look. Use images that are aligned with your expectations for the output, as this will help the model learn what you want.
- Image rights: When creating a public model, you must only make models to which you own the copyright or image rights.
If you're not satisfied with the result of a training, you can always try to optimize your model by uploading new images and sending it into training again. You can do so by using the “Optimize AI Model” button on your model’s settings page.
Please note, that when using your models in your prompts, some combinations will work better than others. It can take a few tries to get good results and the prompts you’re using have a big influence on the quality of your results.
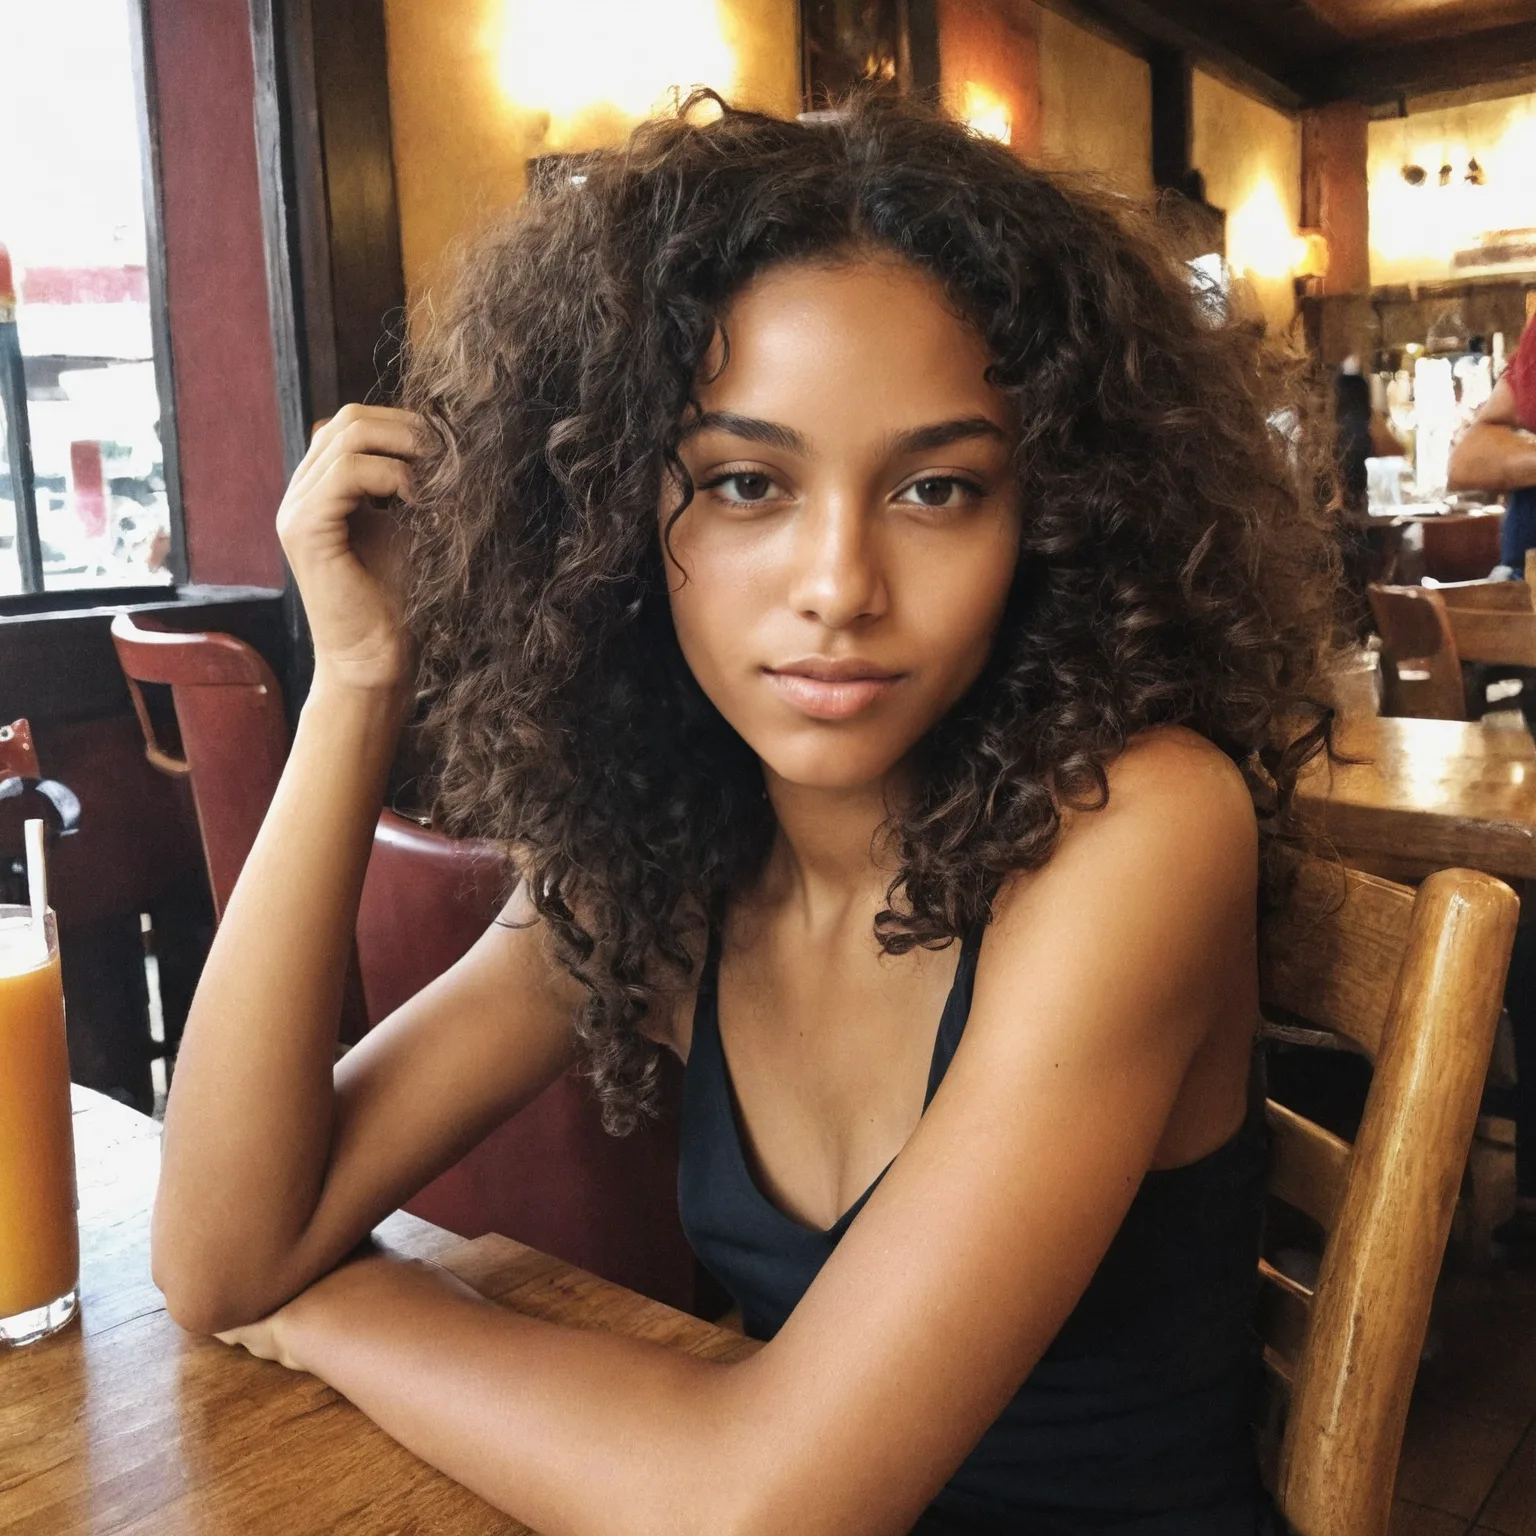
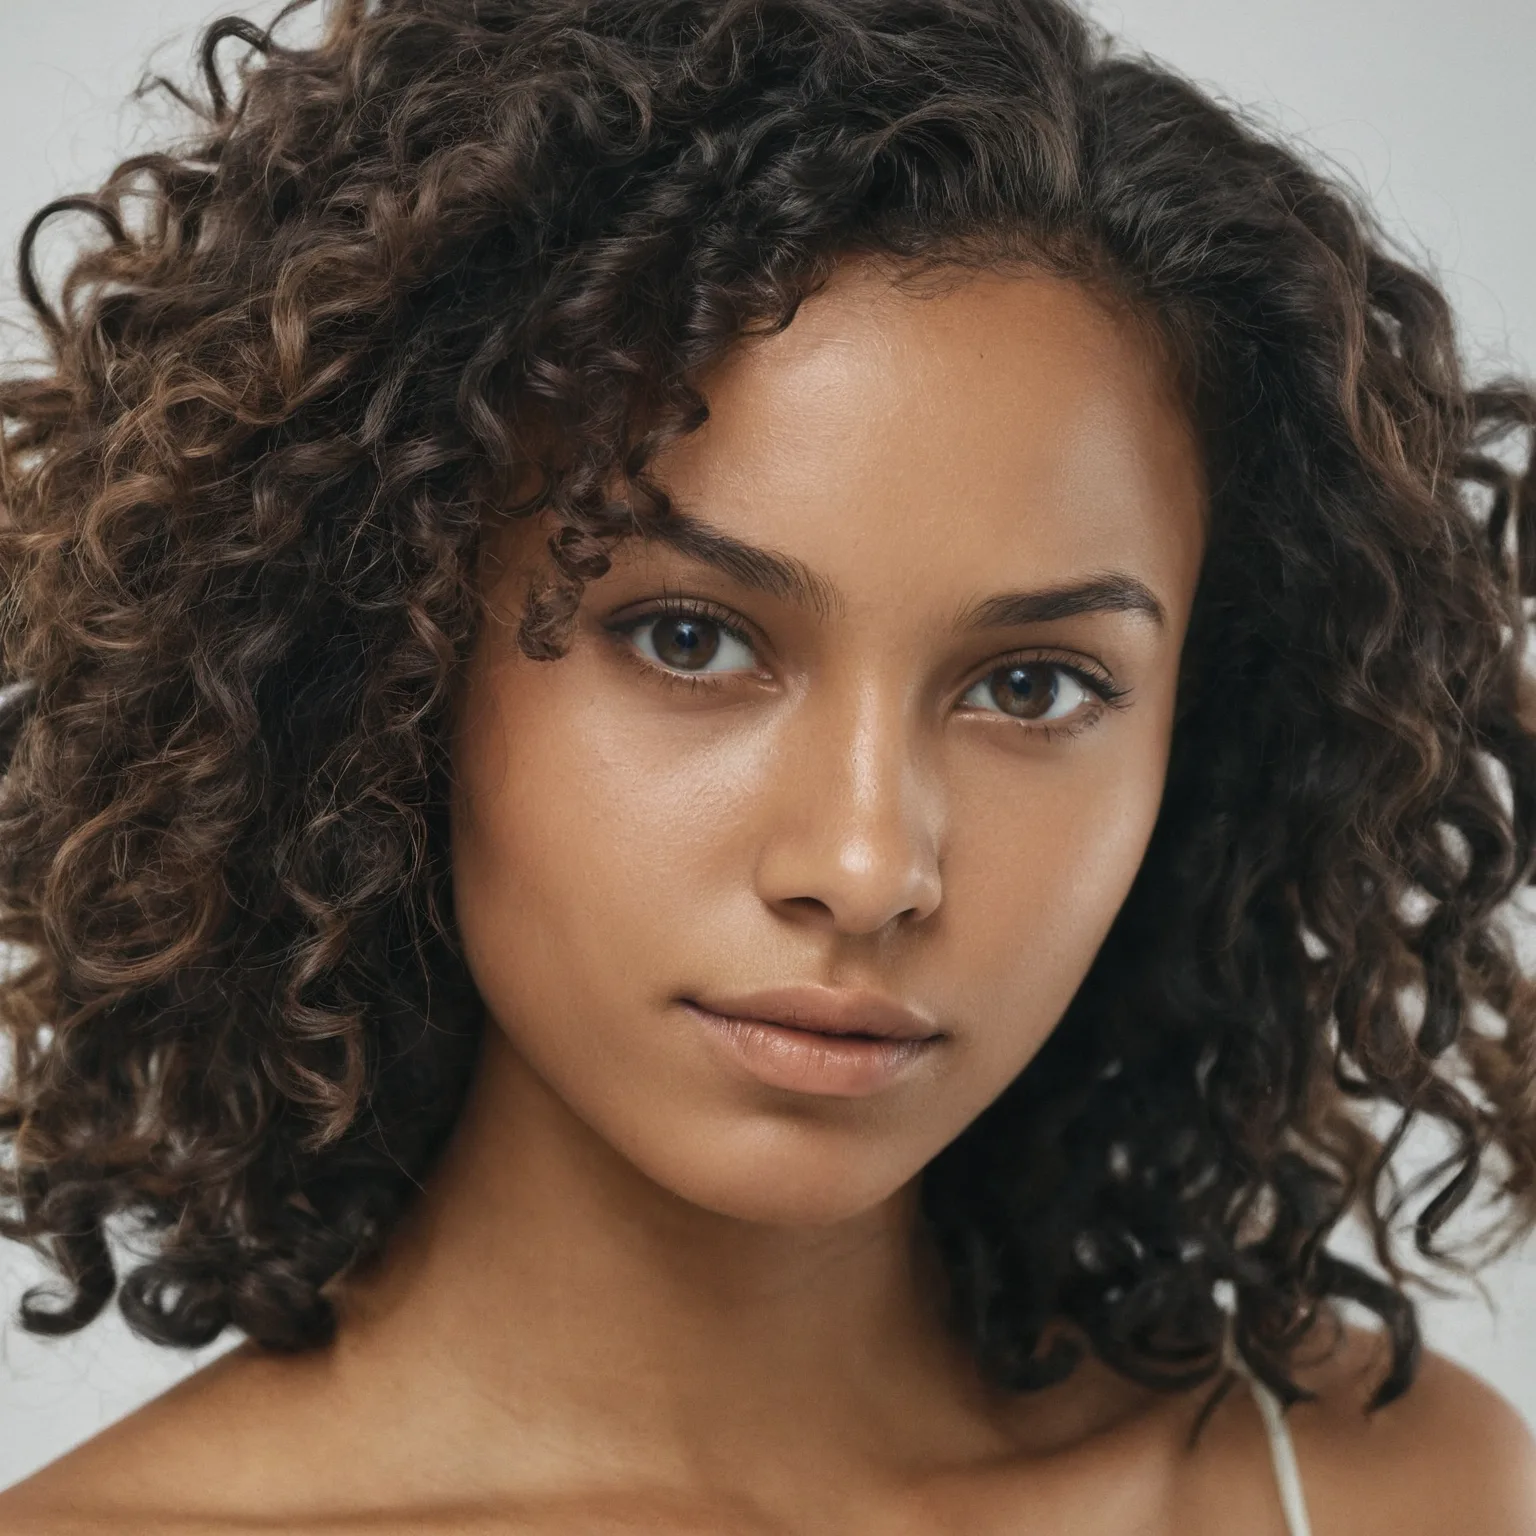
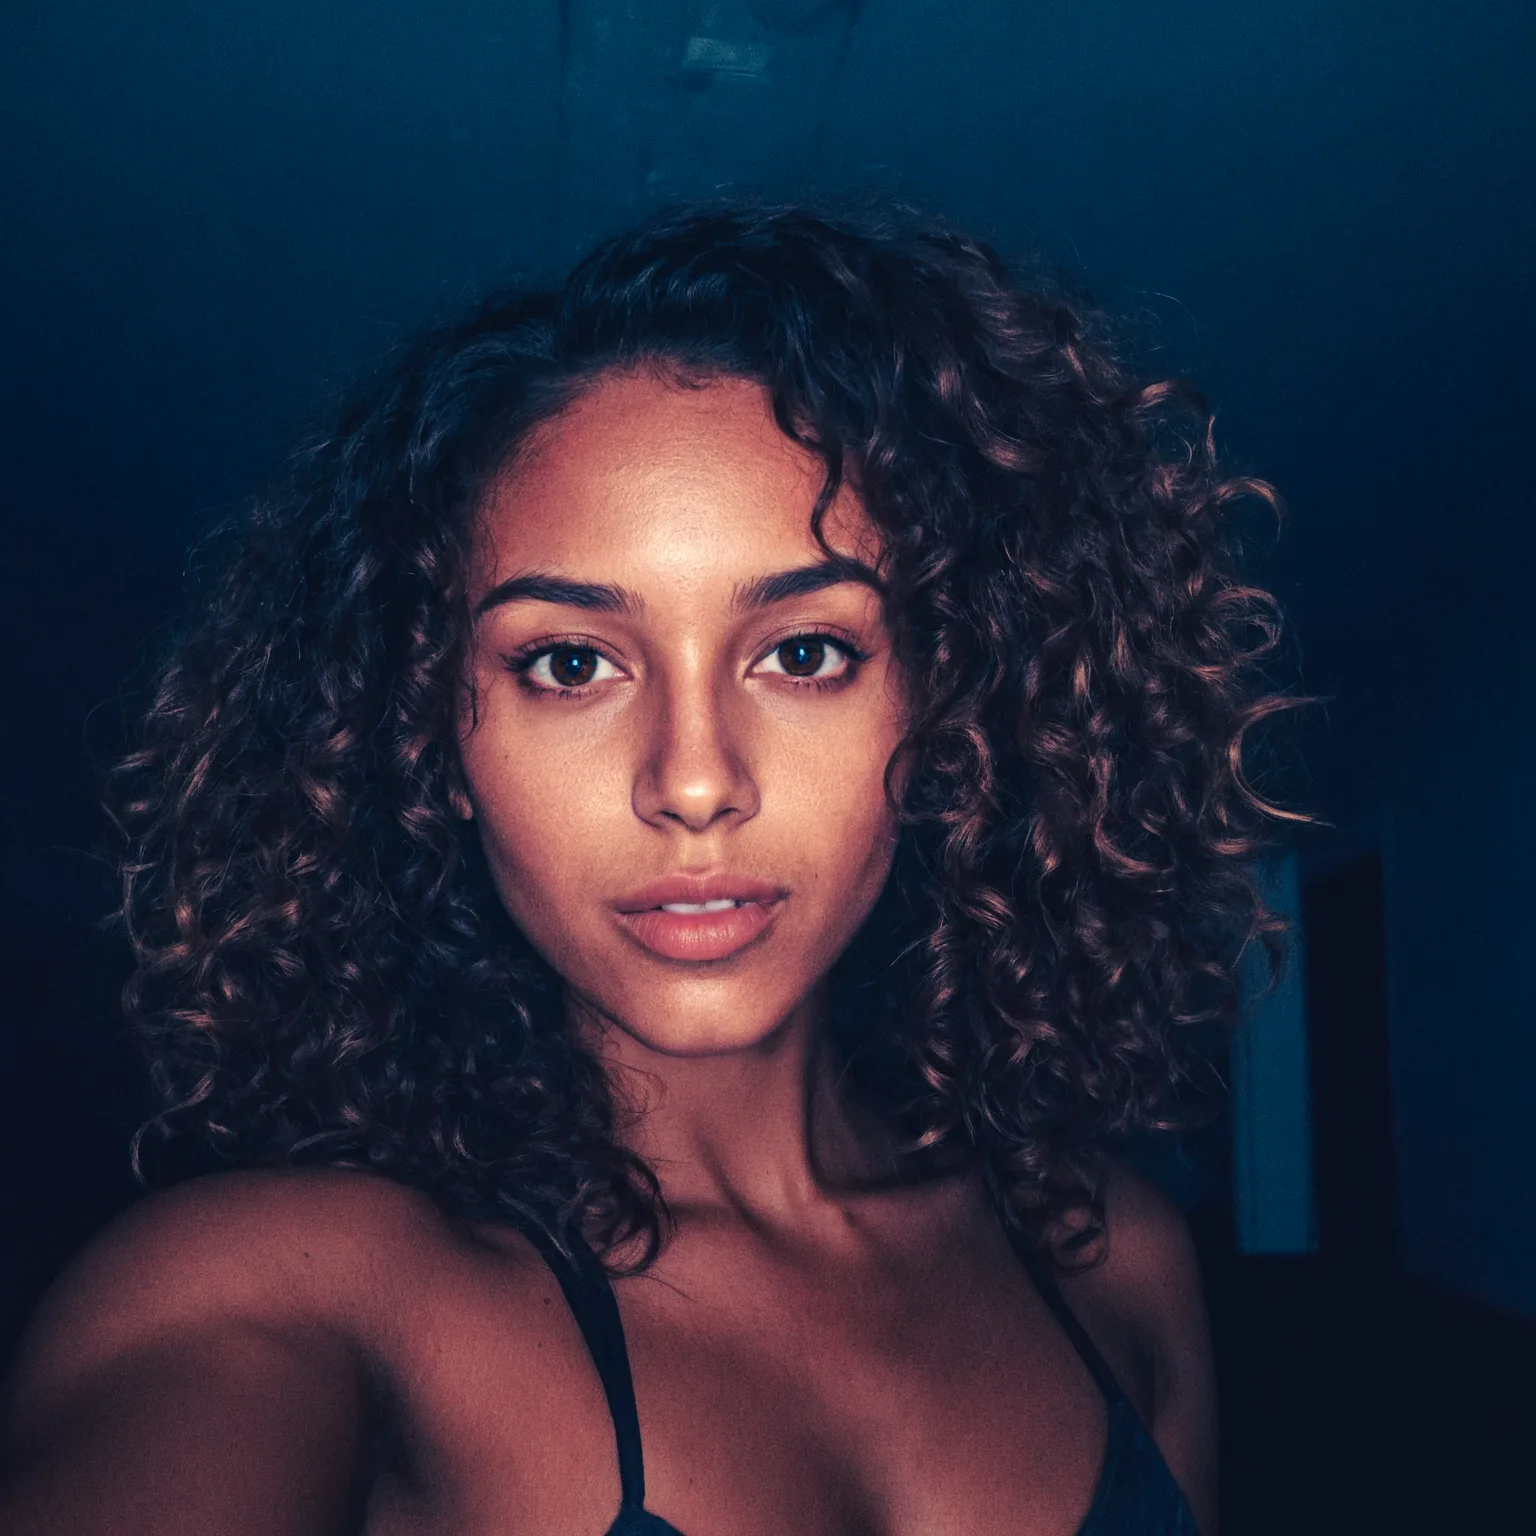
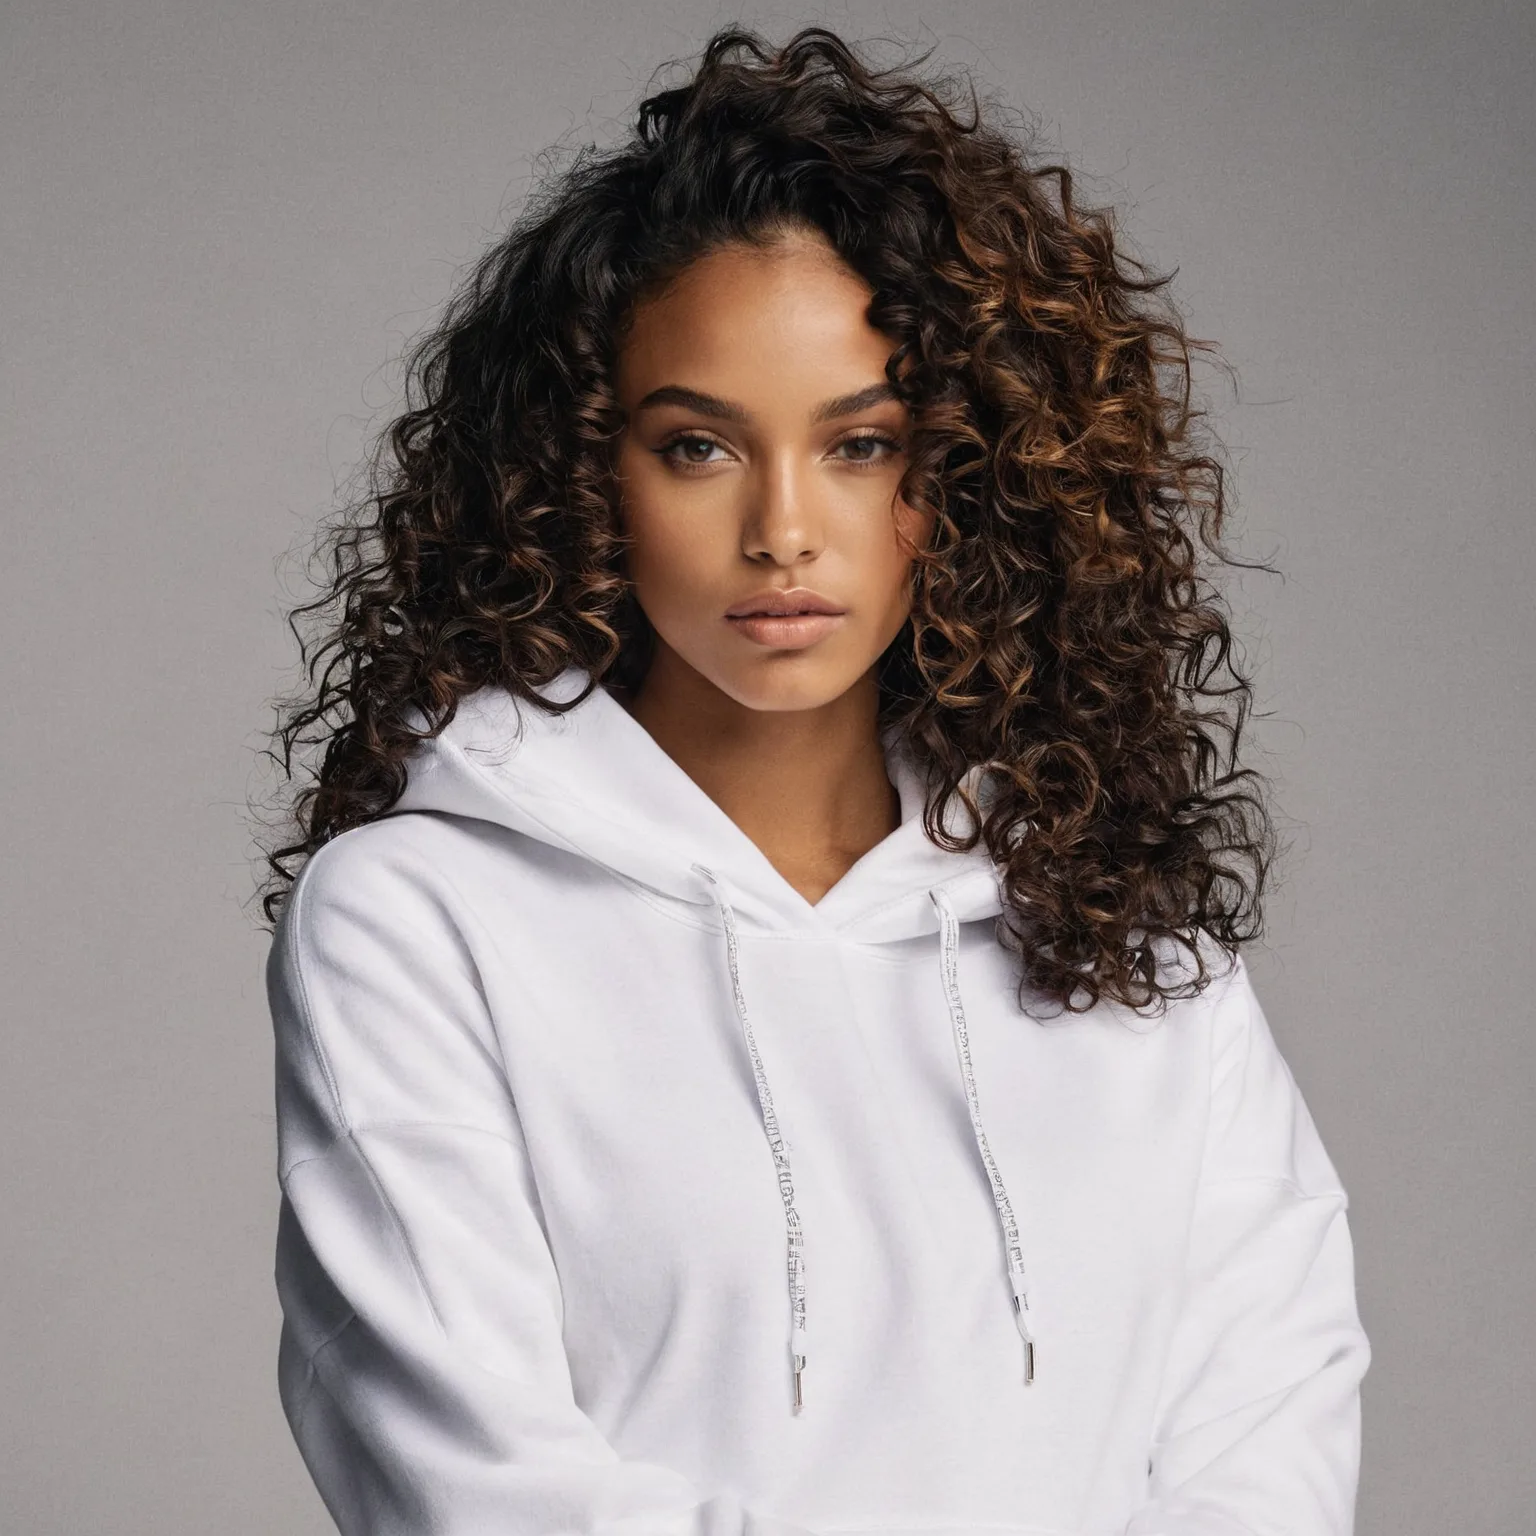
High-quality images
It is of utmost importance that you use high-quality images for your dataset. Images should not look blurry or contain artifacts, and the focus should be on your subject. Professional photography or high-resolution paintings usually yearn for much better results than simple smartphone photography.Ideally, the images you upload should be 1000x1000 pixels or higher, so LetzAI can learn all the details in decent quality. It is of course possible to train with lower-quality images, but please note that certain features, patterns, and small details might be overlooked or distorted on your generated images with the model.
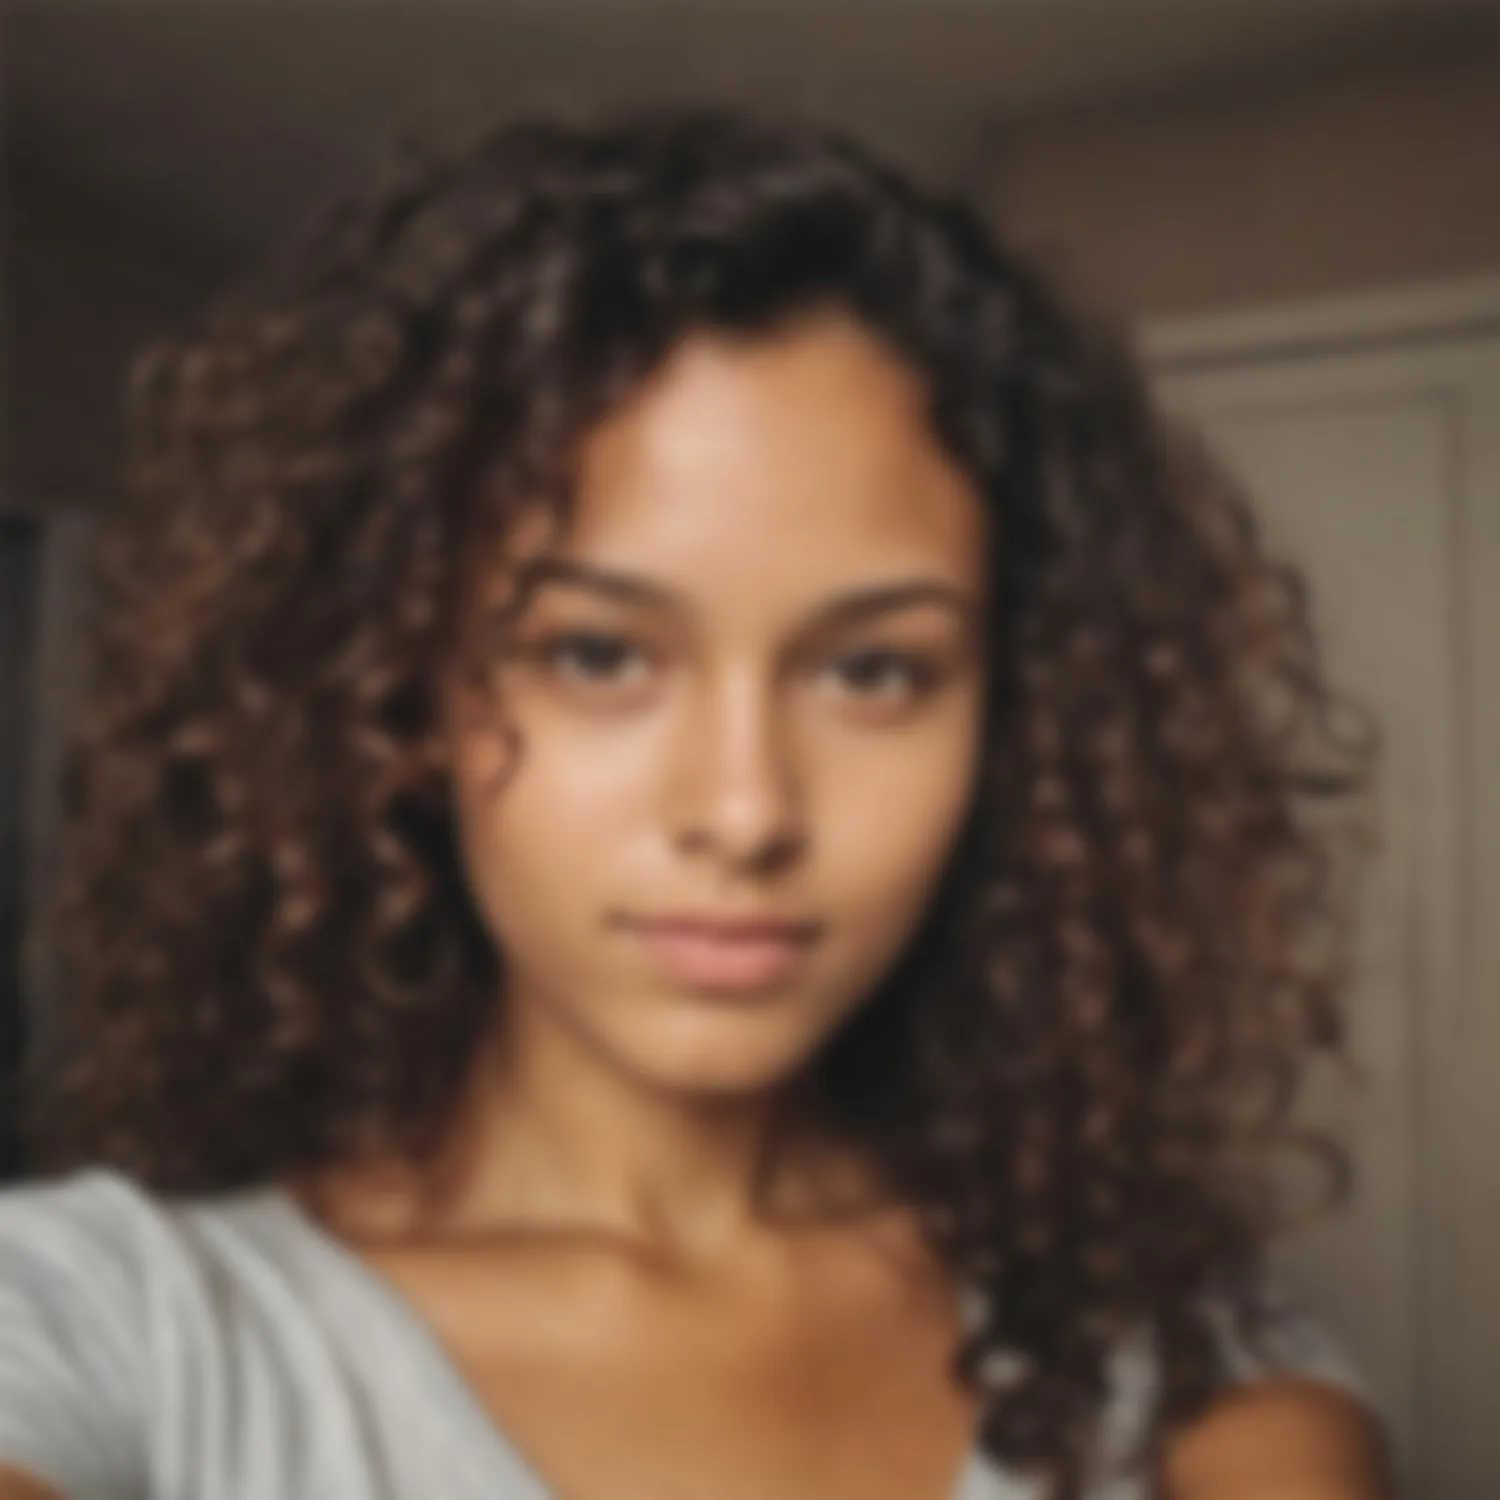
Side-Note: High resolution doesn’t always equal high quality. Blurry images with a high resolution can lead to worse results than smaller-resolution images with decent image quality.
✅ Example of good quality:
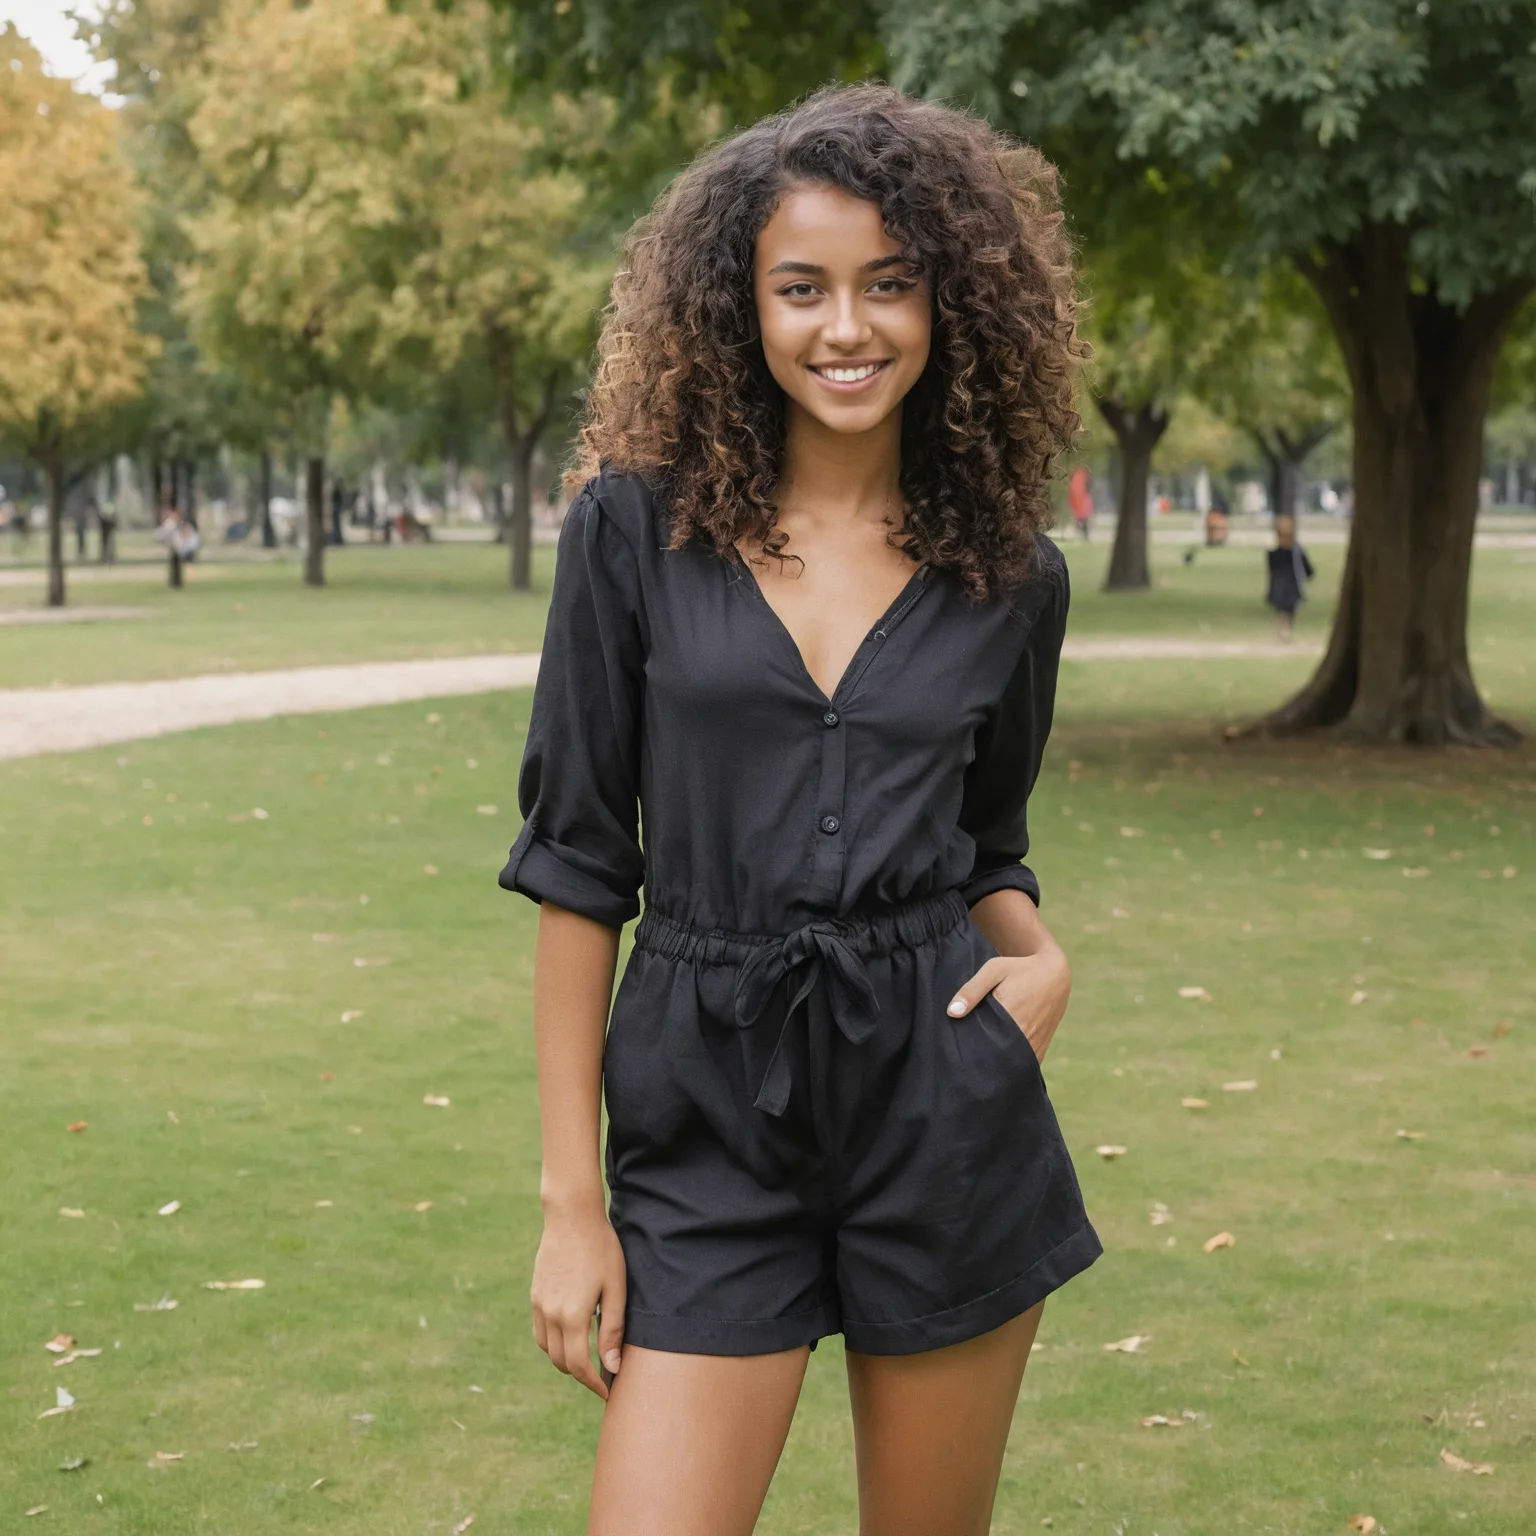
❌ Example of bad quality:
Relevant images for your use cases
Whenever you choose the images, make sure that the main object is in focus.To be precise, this means: Try to avoid other people in the pictures if you want to train a person. The same goes for objects.
The perspective used also plays a role. Use images from perspectives that you want to use later. Images from the back of you or your product are of no use to the training if you don't want to replicate this perspective later - they would only represent useless noise in your dataset.
Image rights
Besides the image quality, image rights are also important when creating your dataset. You must not create public models of subjects or objects to which you don’t own the image rights or copyrights.Allowed are for example:
- Yourself
- Your pets
- Your products
- A public place
Not allowed are for example:
- Another person, e.g. your partner if they did not give consent
- A product of somebody else's company
- A private property of someone else
You can find more information about allowed images and our privacy rules in our Terms of Service.
2. Detailed hands-on training tips
Person models
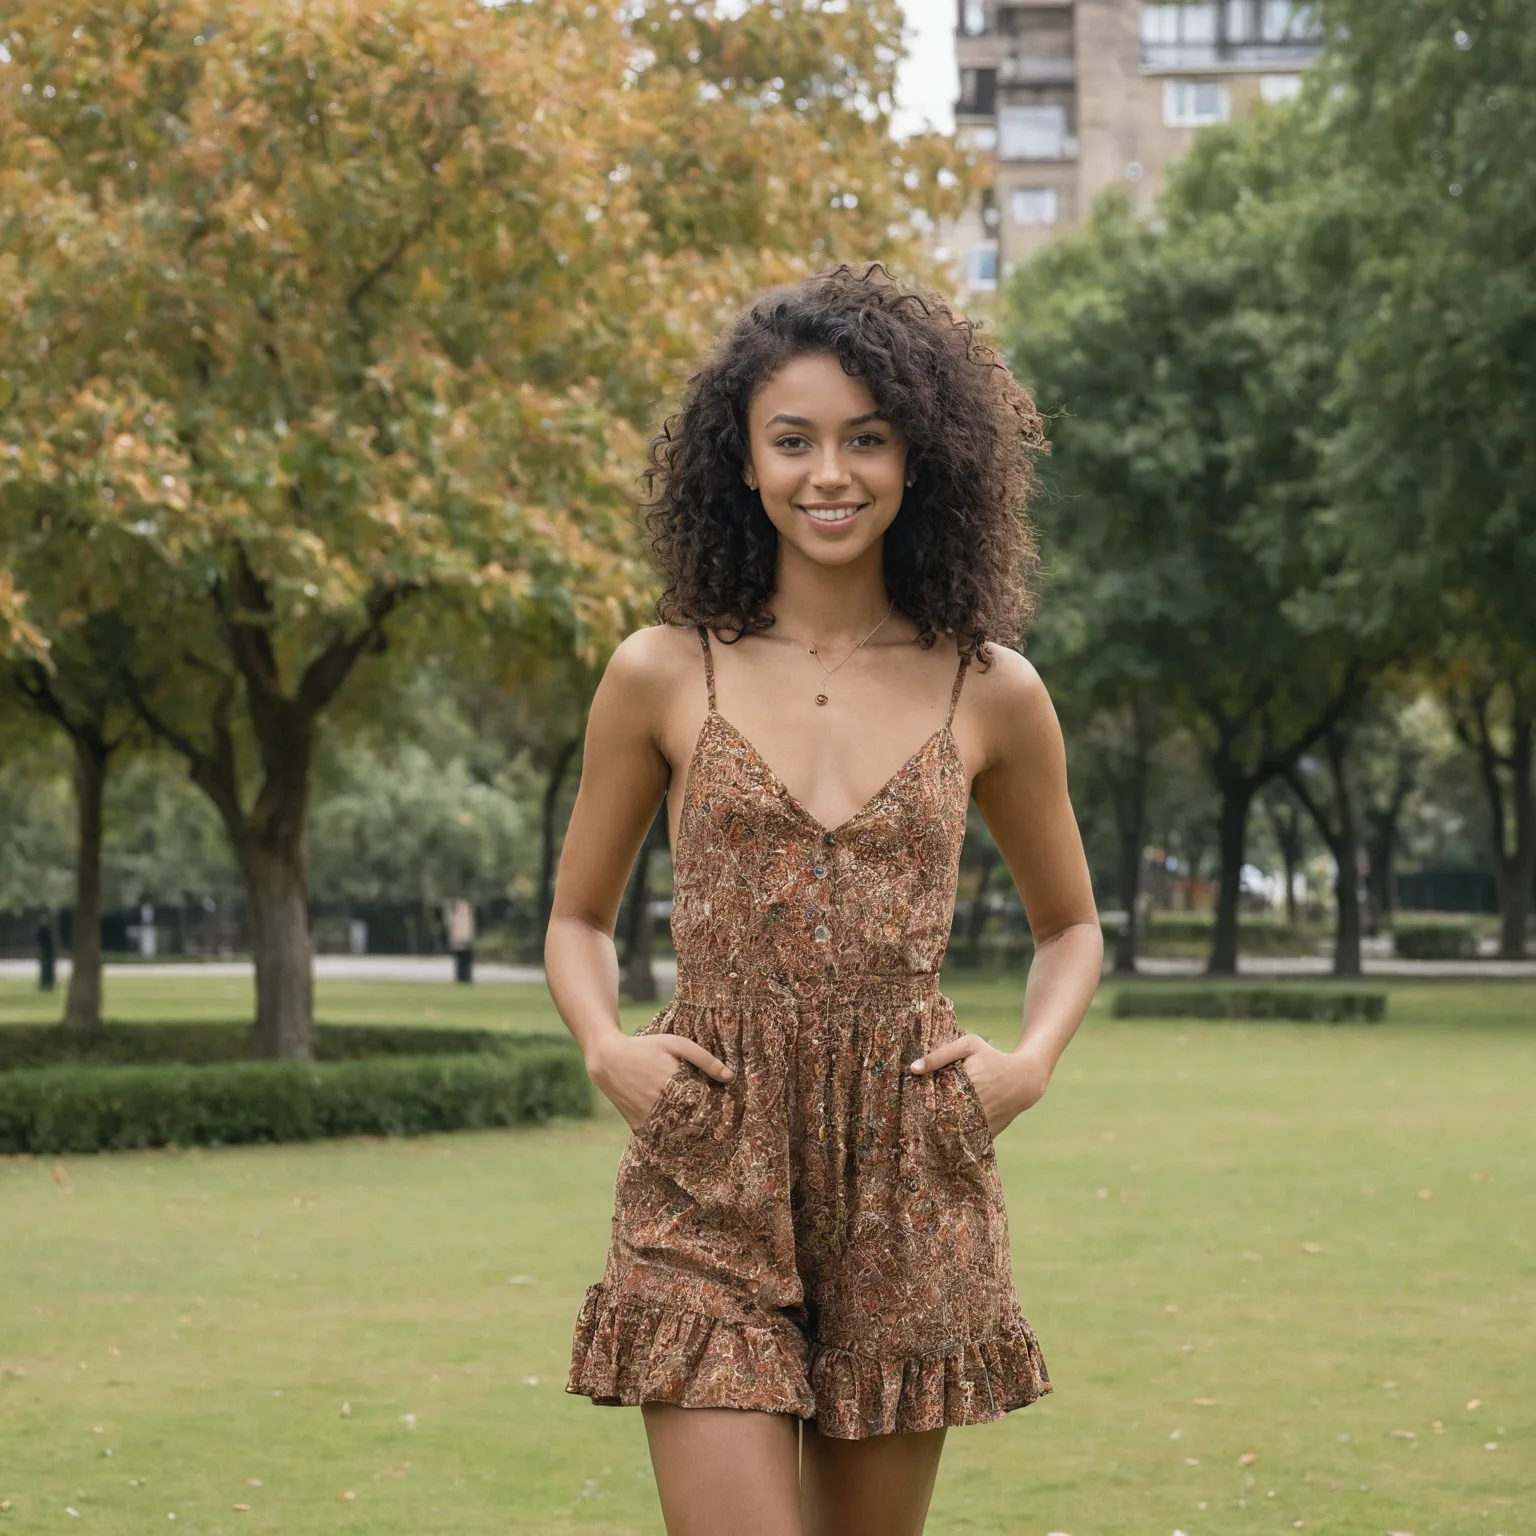
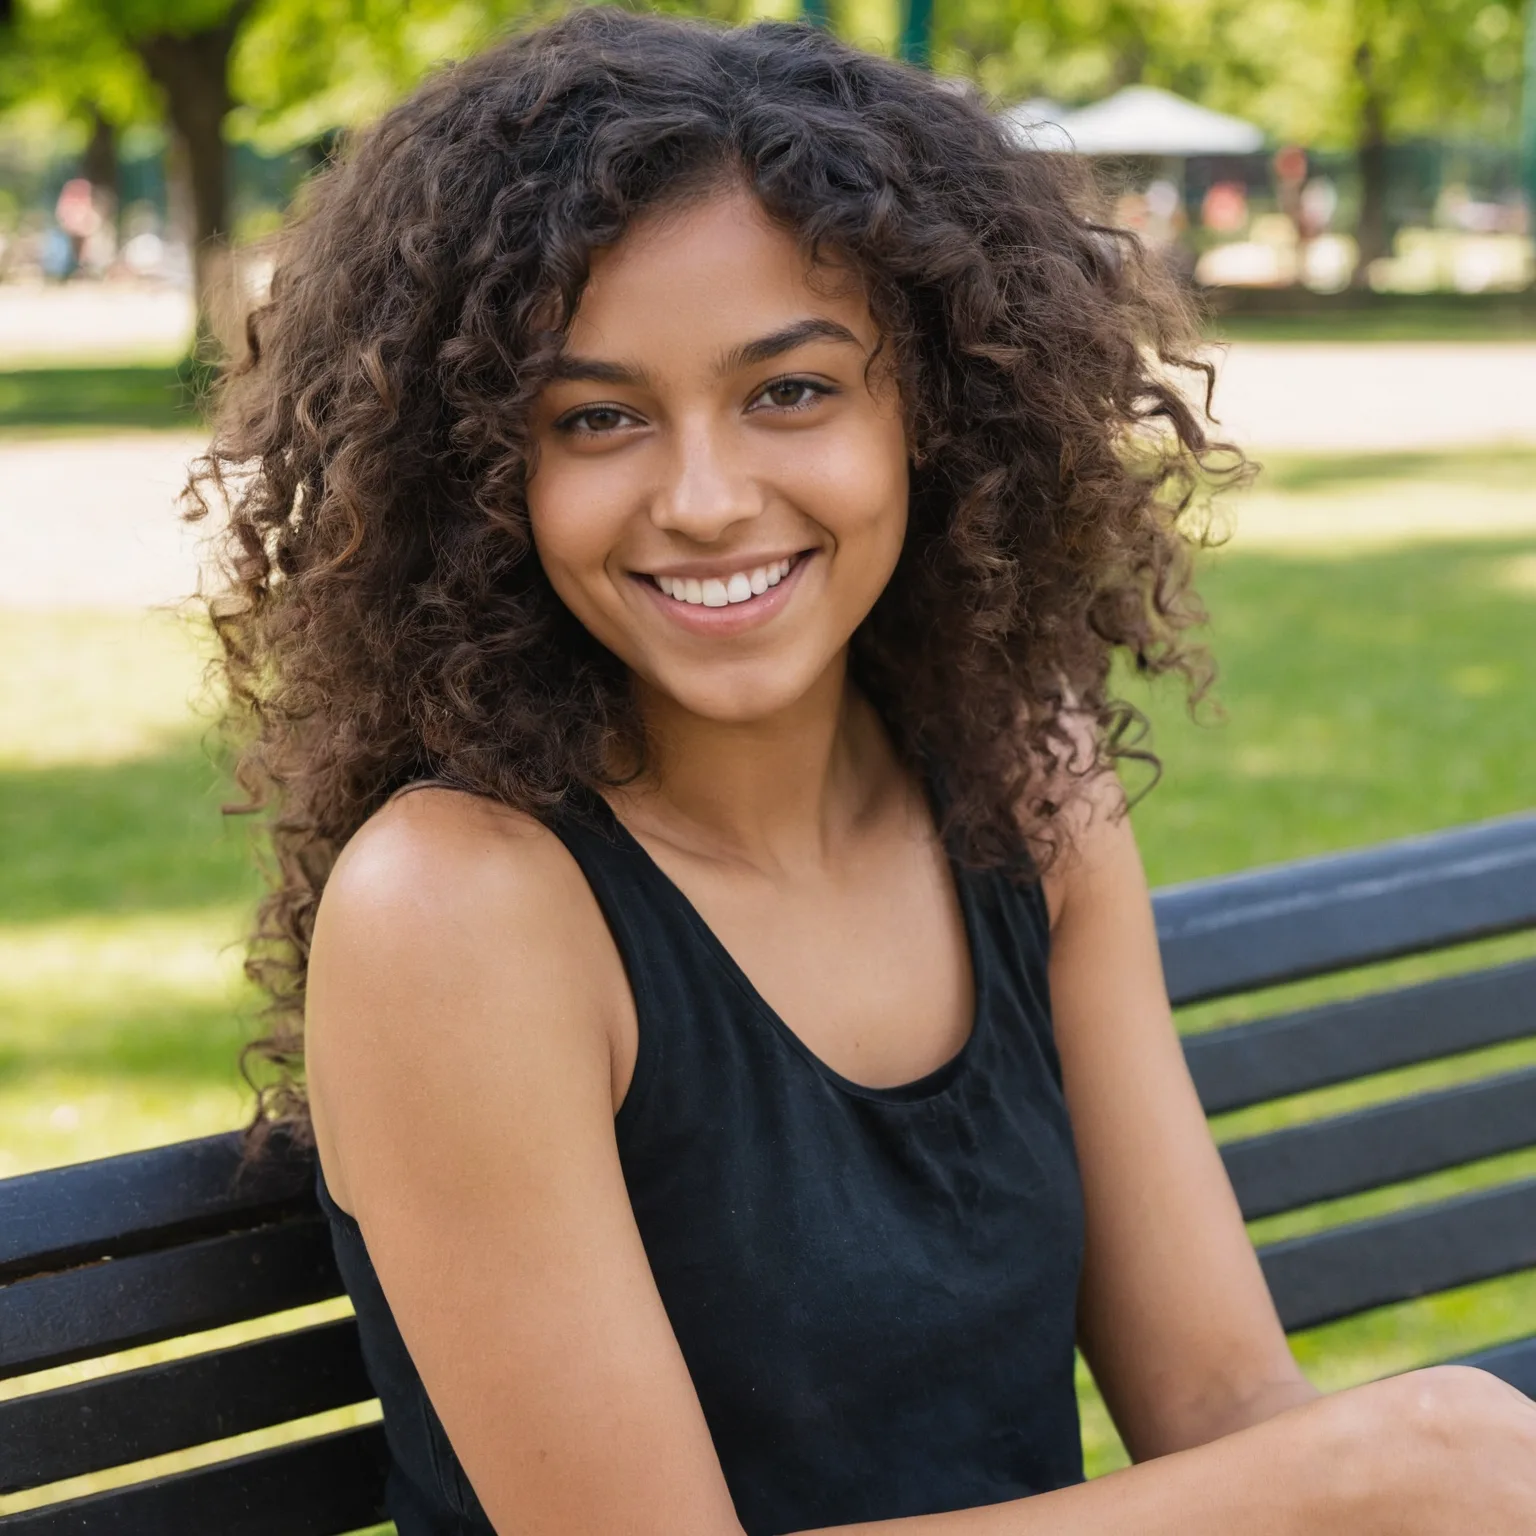
Alone and in focusYou should use pictures where the focus is on you and in the best case with no other person visible. Blurred people in the background are acceptable, but not recommended. They should not draw attention from you. You could of course always crop some pictures to get rid of other people, but only if the quality remains good.
✅ Example of good focus:
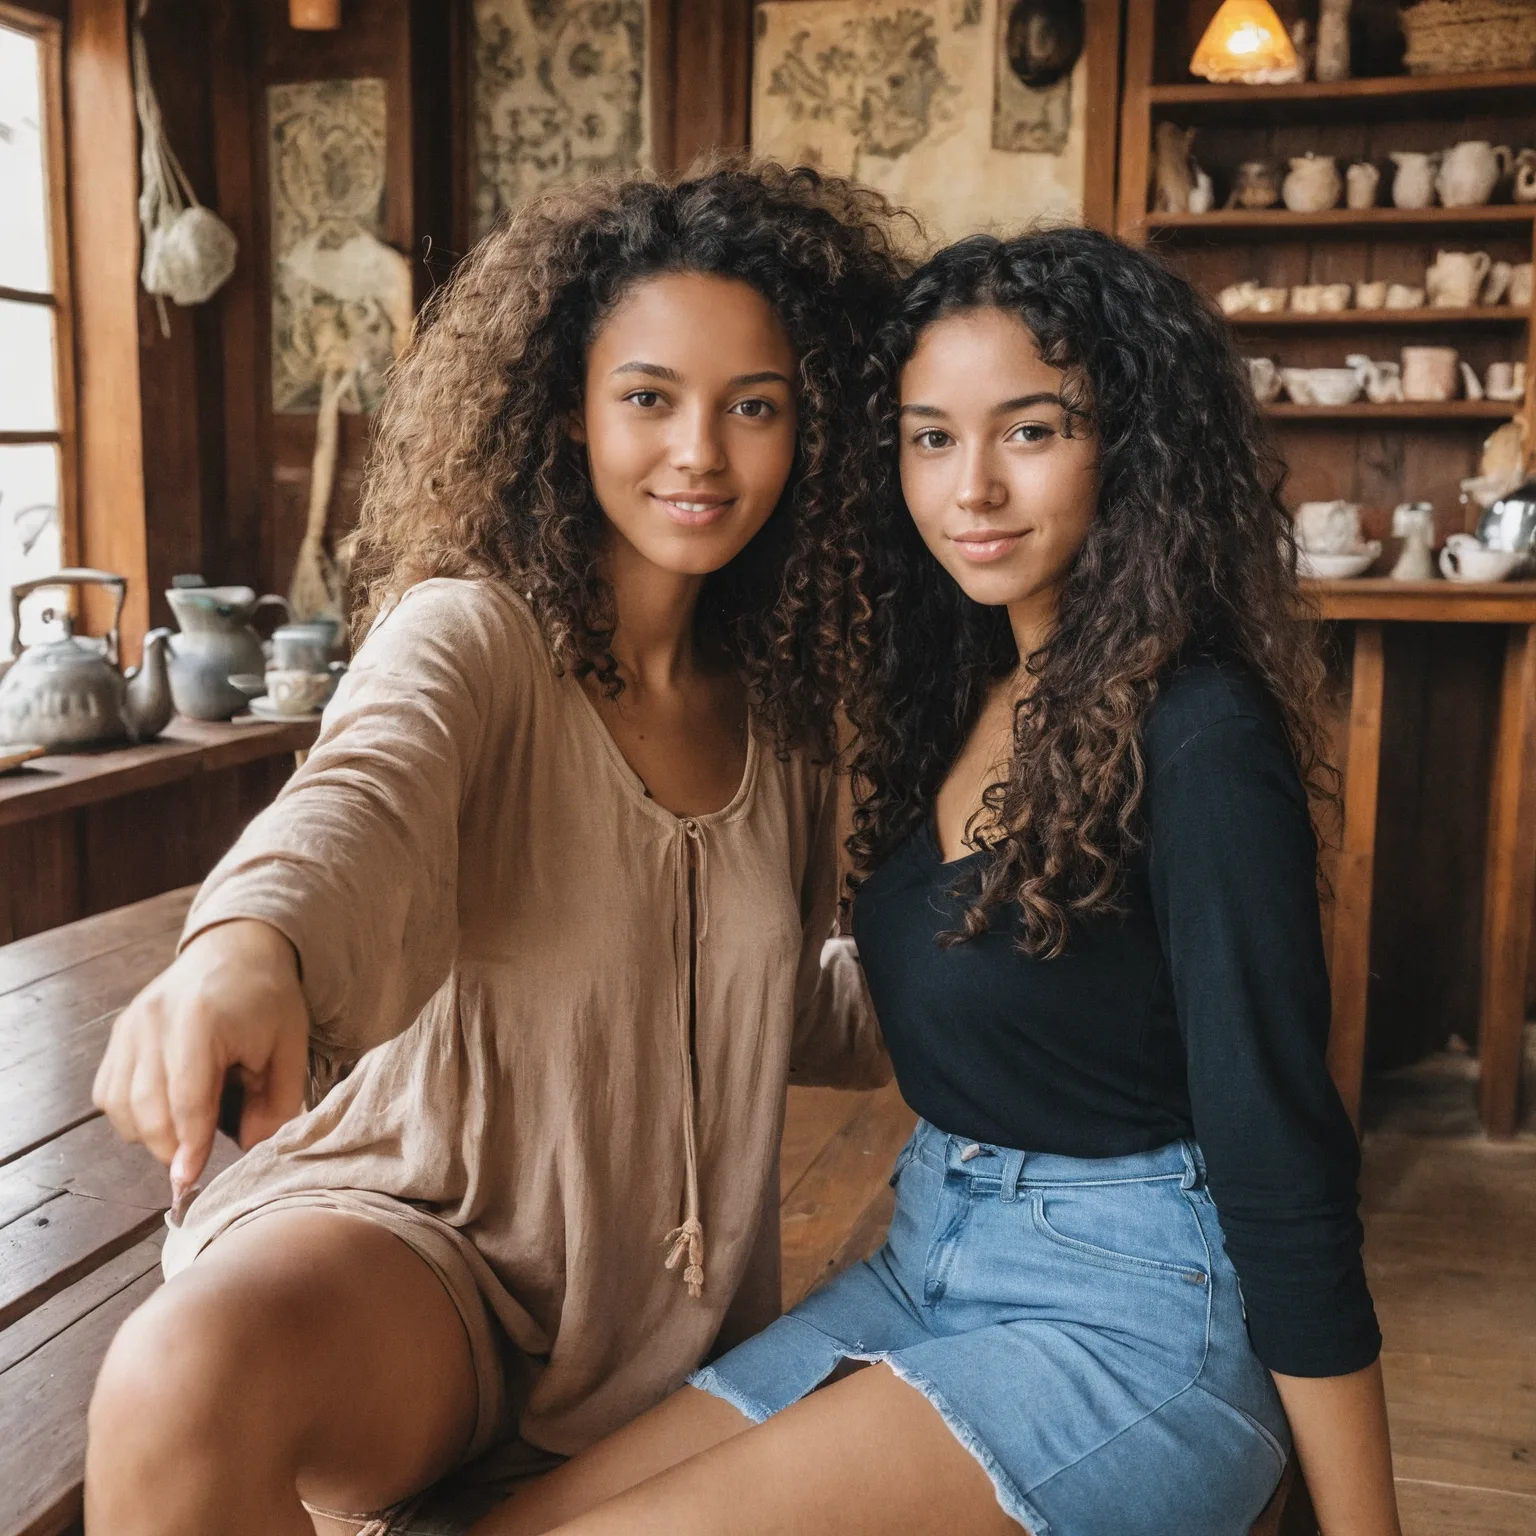
❌ Example of how not to do it:
No filters, Photoshop or Makeup
The images you upload should not be edited too much, be it with filters from your Phone or extreme retouches with Photoshop.
In the same sense, make-up could also potentially limit the model's capability to depict you correctly. If you want to recreate a look with a specific make-up you can keep those images in the dataset.
✅ Example of raw image:
❌ Example of too much editing:
Clothing
Another important aspect is to use images that represent you in the way you want to be generated. Consistency in the uploaded pictures is crucial to ensure the output will turn out as you wish. If you upload only images where you have long hair for example, the system will have a bias towards depicting you with long hair.
The thing to remember is the more consistent your images, the more consistent the output. This can be a good thing or a bad thing.
This also means that the more diverse your pictures are, the more diverse the output will be. Make your choice – or make multiple models 😉
Abnormalities and silly expressions
Avoid images in which you see abnormalities or make silly expressions that are not normal to your appearance. Such as a deliberate double chin, rolled eyes, stains, or other noticeable features. There is a good chance that even one such photo will affect the average of your results.
✅ Example of neutral image:
❌ Example of exaggerated:
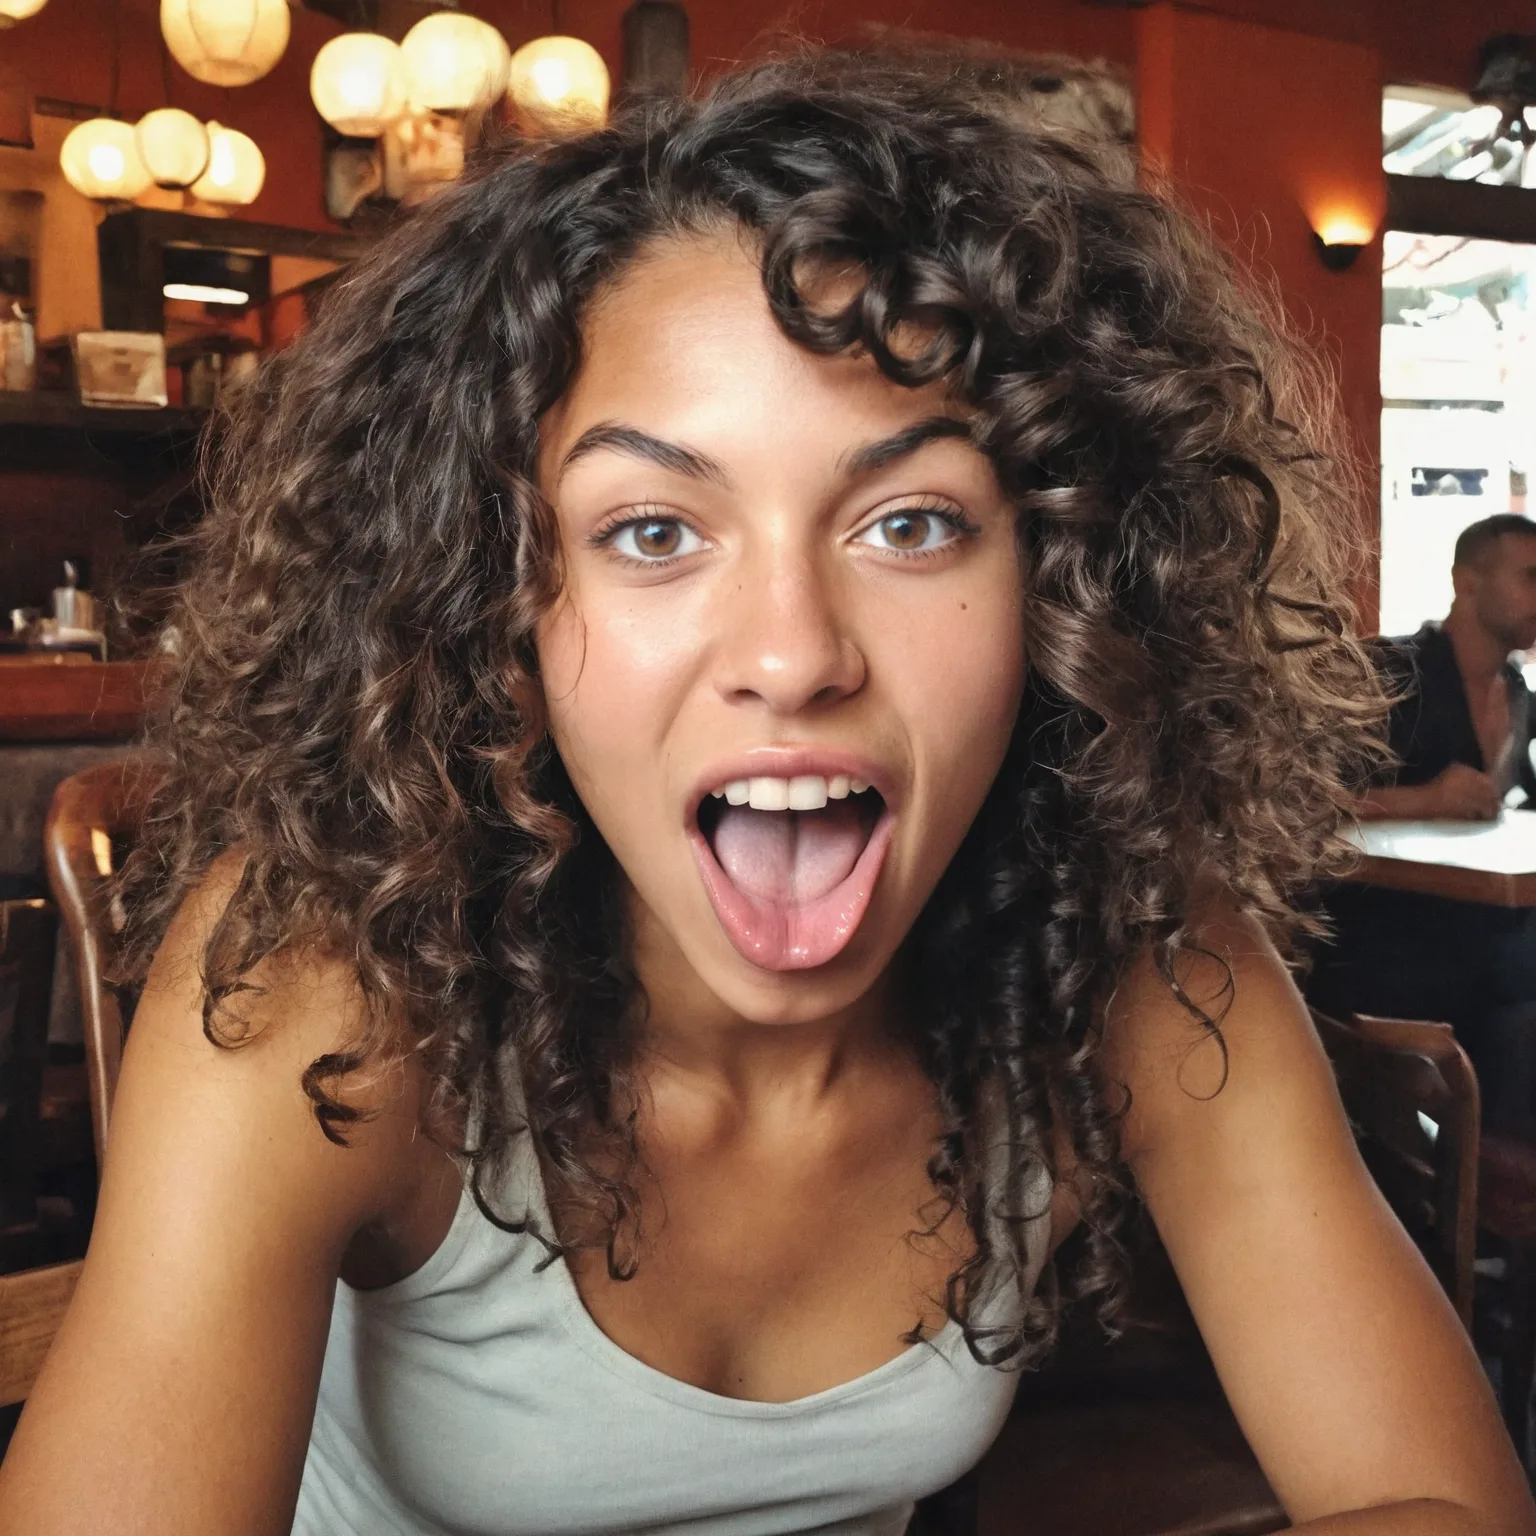
Image positions
It is important to use images that depict you from various camera positions and angles to enable your model to depict you more accurately in various situations and positions. This helps the model understand how you look from various perspectives and viewpoints.
But by and large, close-ups should make up the majority of your dataset.
Close-up:
Shots that clearly show your facial features and attributes, to teach the model the finer details like expressions or textures.
Portrait:
Images that show your head (also your hair) and shoulders.
Upper body:
Images that show your complete upper body, with visible details, like clothing and also facial expressions.

Full body:
Also include one or two shots in which almost your entire body is visible so that the model can learn your proportions, posture, and overall physique.
However, it should also be said that it depends enormously on what you want to do with your model. If you only want to create side profile images, then it's best to only use images from side profiles - obviously! So, as mentioned above, adapt your model and the dataset to your desired result.
Object and product models
In general, the rules that apply to training people also apply to the training of objects. Make sure that your dataset consists of images in which the product is the focus and the training is not diluted by unimportant information. It is difficult to tell you exactly how you should train a specific product. There is an almost infinite number of unique types of objects and ways to use them with LetzAI.Still, there are a few fundamental tips that could help you to avoid undesirable results.
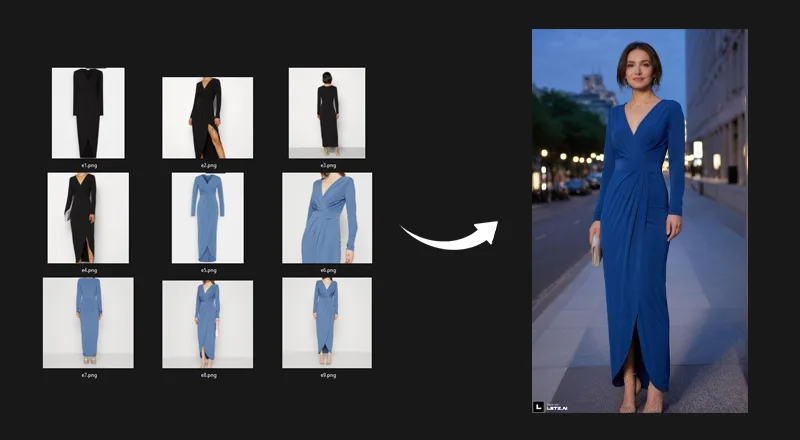
Faces in the dataset
Be aware that faces on the images of your product shots or object images will also be included in the training. This can be very helpful if you want to create additional images of your products in combination with the original person, like an influencer for example. But it can also be detrimental if you want to combine your product or object with the model of another person, as this would result in the faces being mixed.
In this example of an evening dress, we have trained the model with images where we removed all the heads. This way the system only learns about the dress and is not going to mix faces when used with the model of another person. A certain level of alteration can still occur, but it is significantly less.
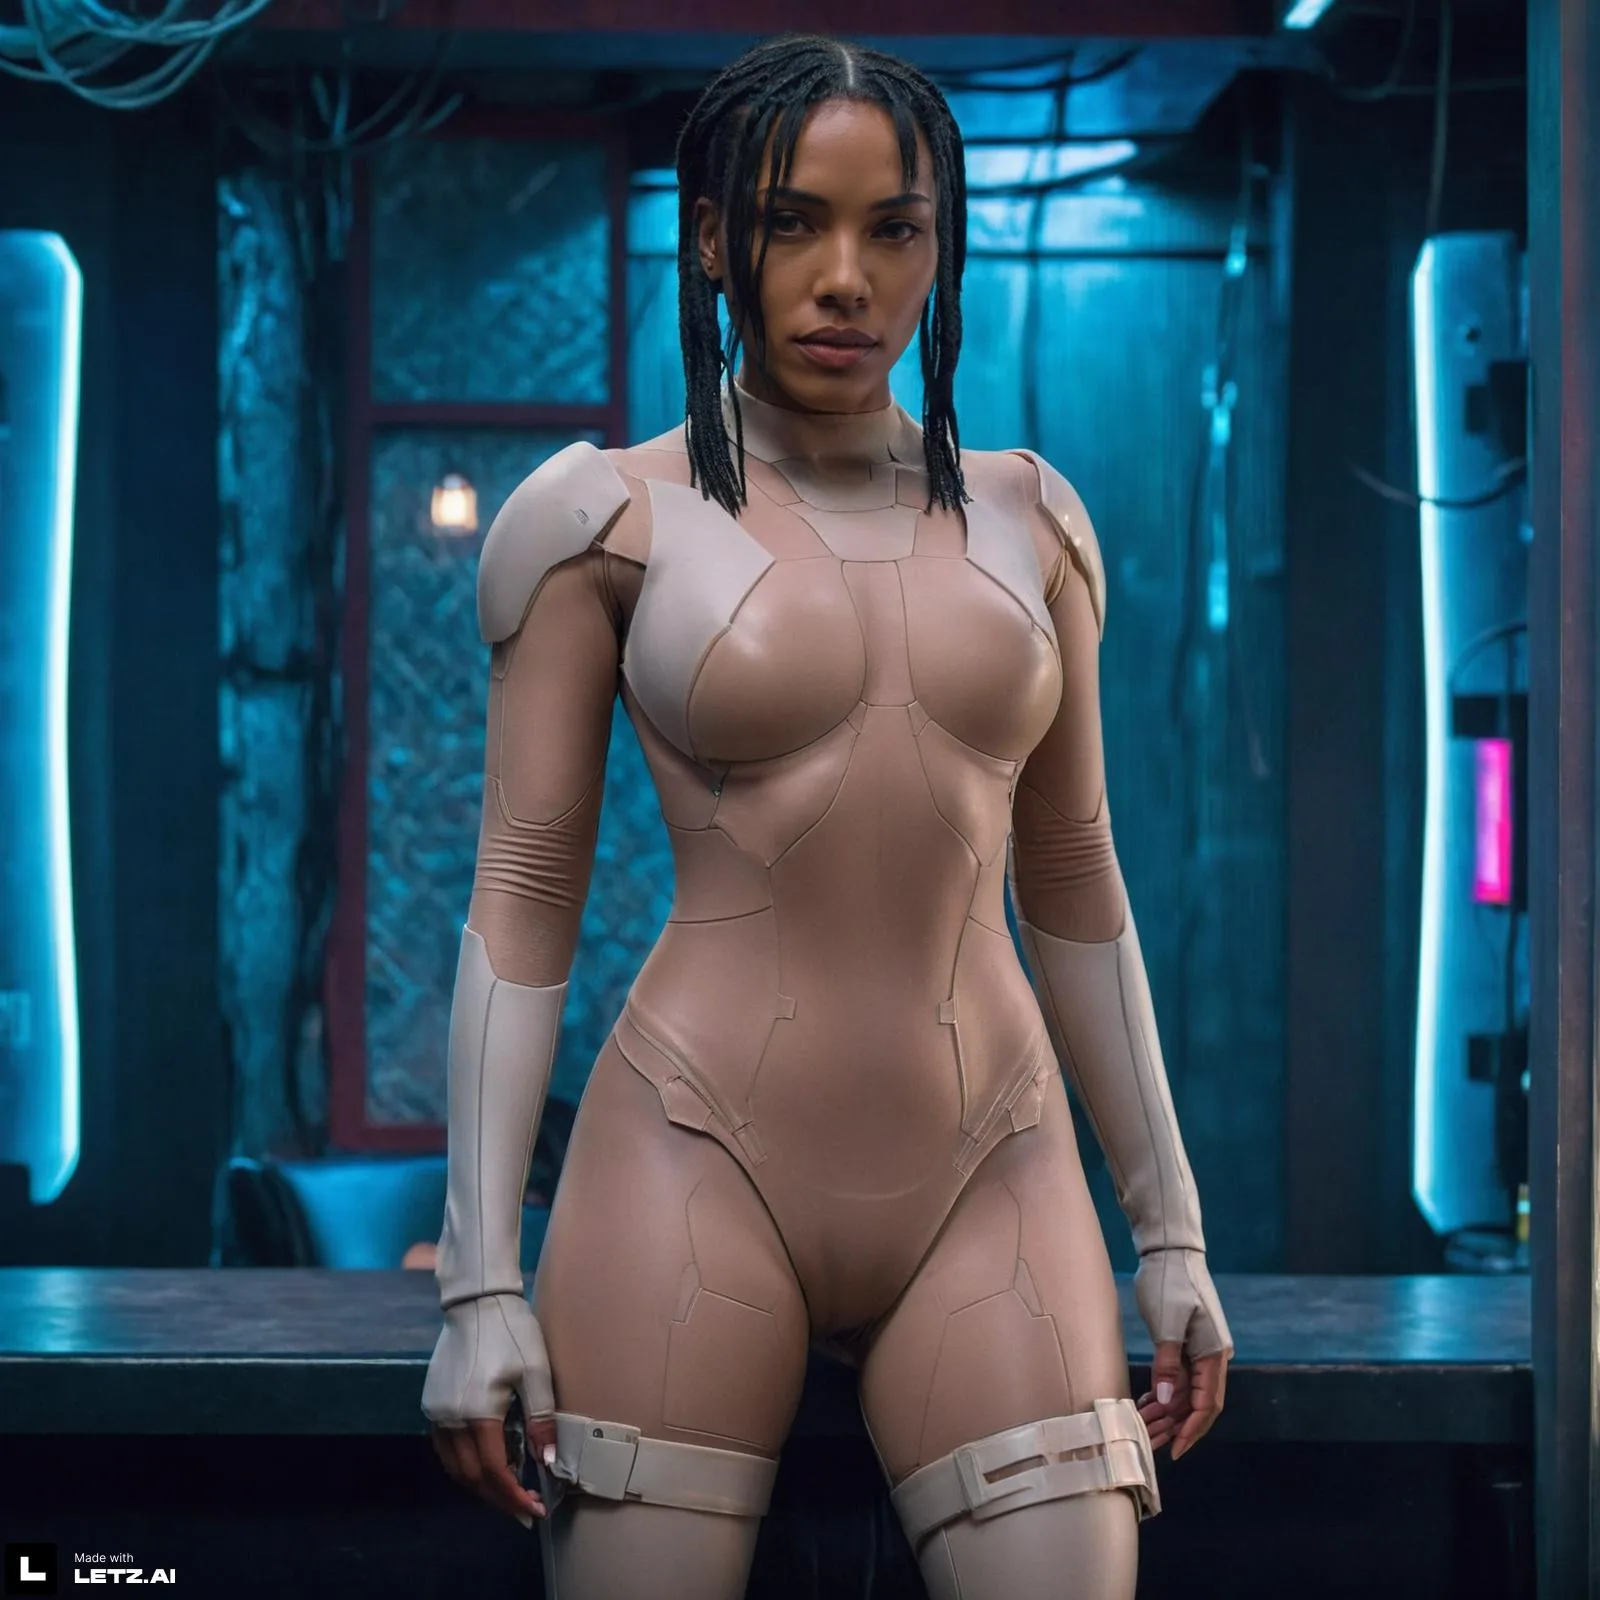
As a counterexample, for demo purposes, we have created a test model based on the Bodysuit of Scarlett Johansson in Ghost in a Shell. But this time we did not remove her face. And even though we tried very hard to create a different character, you can still see that Scarlett Johansson’s face is shining through.
General datasets vs. Specific dataset
Depending on how flexible and multipurpose you want your model to be it can make sense to use one big dataset with a variety of different shots. For example this dataset of a beer brand:
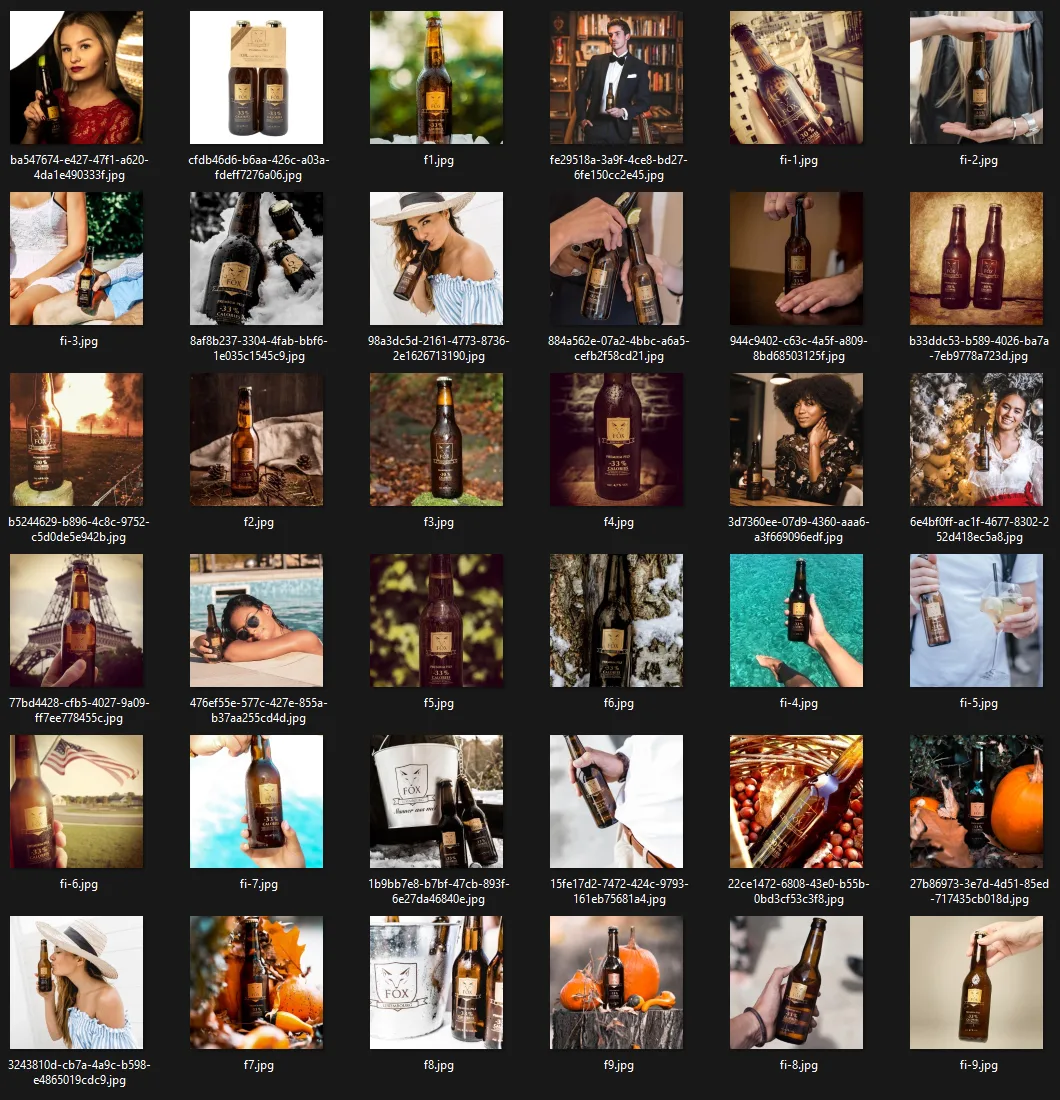
In the big dataset, we see isolated beer bottles which would be perfect for classic product shots. But also a variety of hands holding the bottles and also people posing with the bottles. The upside of this approach is that you don’t need multiple models to create a variety of different outputs.
On the other side, this could also lead to all of your results not being as good as they could be if you properly split your original data and generated your images on the best possible dataset. Such a split could look like this for example:
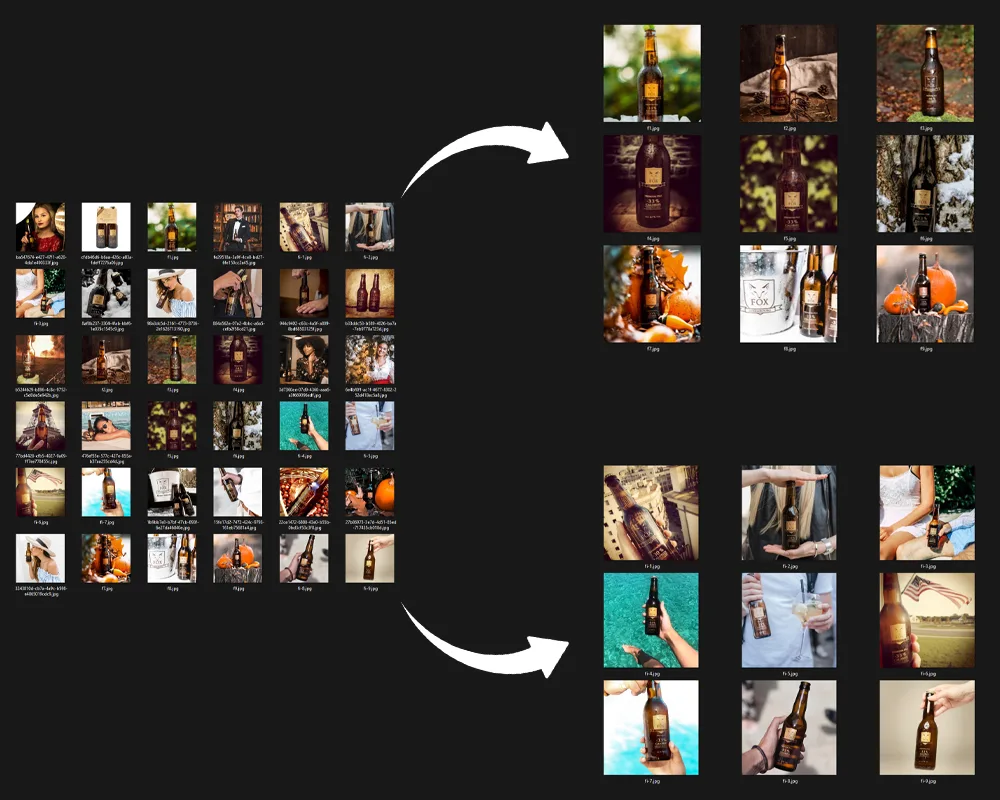
Again, there's no one-size-fits-all magic spell. One big dataset might work wonders for your product — or not at all. The key is to keep experimenting and not get discouraged if the first attempt doesn't hit the mark.
Style models
Style models also behave similarly to other trainings. However, the system learns a bit differently. For simplicity's sake, let's say it learns more superficially. As a result, not all the details are captured, but rather the rough structure of the image, the colors, and so on. Nonetheless, it remains true that only images that reflect the style you aim to achieve should be included in your dataset.While for individuals and products, having around 10 good pictures might suffice, when it comes to style, having more images in the dataset often helps. However, we've also seen impressive style results with fewer than 10 images. It can therefore be worth a shot.
As a little inspiration, here you'll see an example dataset from Julie W. Design. As a bonus, she included a few tips on what she particularly focuses on when selecting the right input images.
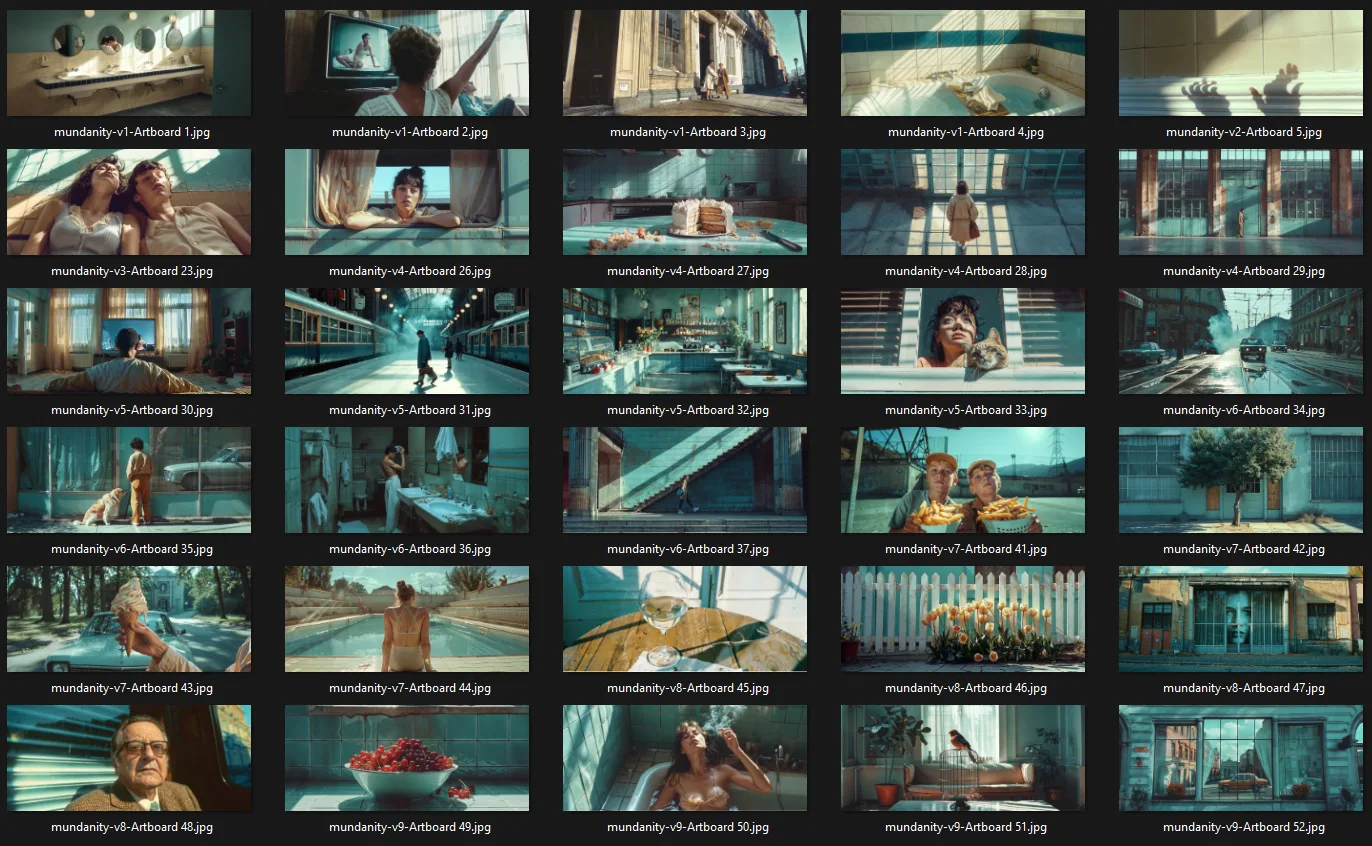
✅ Consistent Color Palette
Ensure that the training data features images with a harmonious color palette. This consistency aids the AI in understanding the desired aesthetic and applying it uniformly across various outputs.
✅ Maintain Visual Cohesion
The elements within your images should share common visual characteristics, such as texture, form, and composition. This uniformity teaches the AI to recognize and replicate the style accurately.
✅ Cohesive Narrative/Storytelling Across Images
Ensure that your dataset doesn't just share stylistic similarities but also conveys a sense of progression or thematic connection from one image to the next. This narrative thread can help the AI understand context and sequence, allowing it to generate images that feel like part of a larger story.
✅ Specific Stylistic Features
Incorporate an understanding of stylistic elements like motion blur, film styles such as Lomography or analog film grain, and various angles and perspectives to deeply influence the feel, story, and look of images.
✅ Artistic Techniques
Specific brush strokes, drawing techniques, or post-processing effects characteristic of an artistic style should be considered. Training the AI on these techniques helps in replicating the tactile and aesthetic qualities of the style.
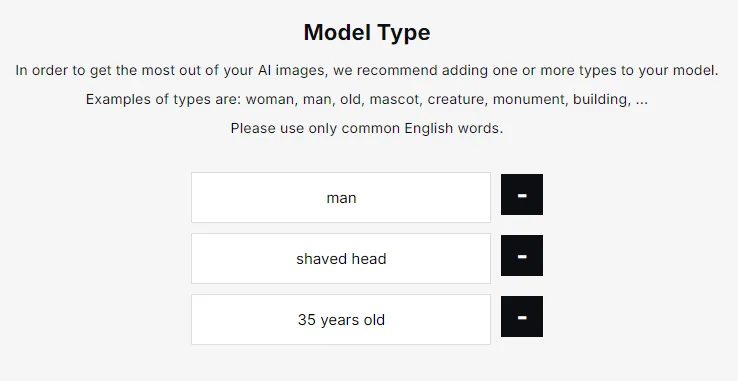
Model types
During Model Training, you must define at least one type. These types describe essential traits of your subject, object, or style, that stay the same in EVERY generated image. This could be the gender, age, hair color, and body shape of a person. Or the color and type of an object for your product models.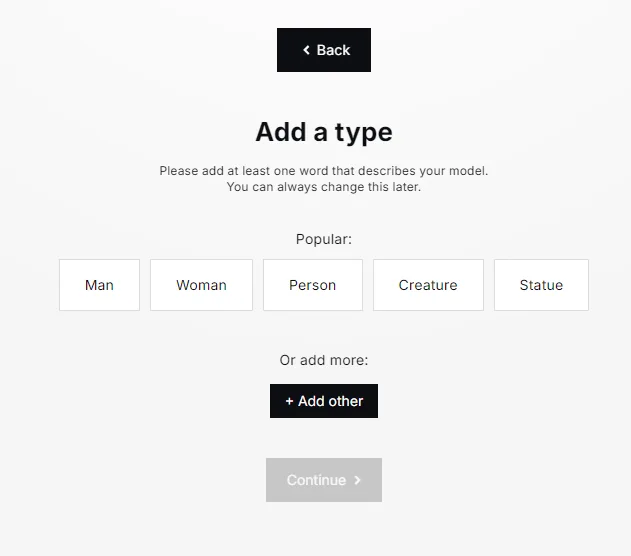
Whatever you add as a model type affects every image created with this model. If you add the type “wearing glasses” to a person model for example, you will have a hard time generating an image of this person without glasses later. So choose wisely what kind of information you add to the types.
On the other side, putting too little information into the types can also have negative effects. In some cases, important details might not get picked by the system unless specifically mentioned. This can go as far as bald men being depicted with hair every single time. In this scenario, you would want to add the type “bald” or “shaved head”. This is also true for styles such as anime or illustration styles. Consider adding the keywords “anime” or “illustration” to the types, in order to guarantee that the style gets picked up by the system.
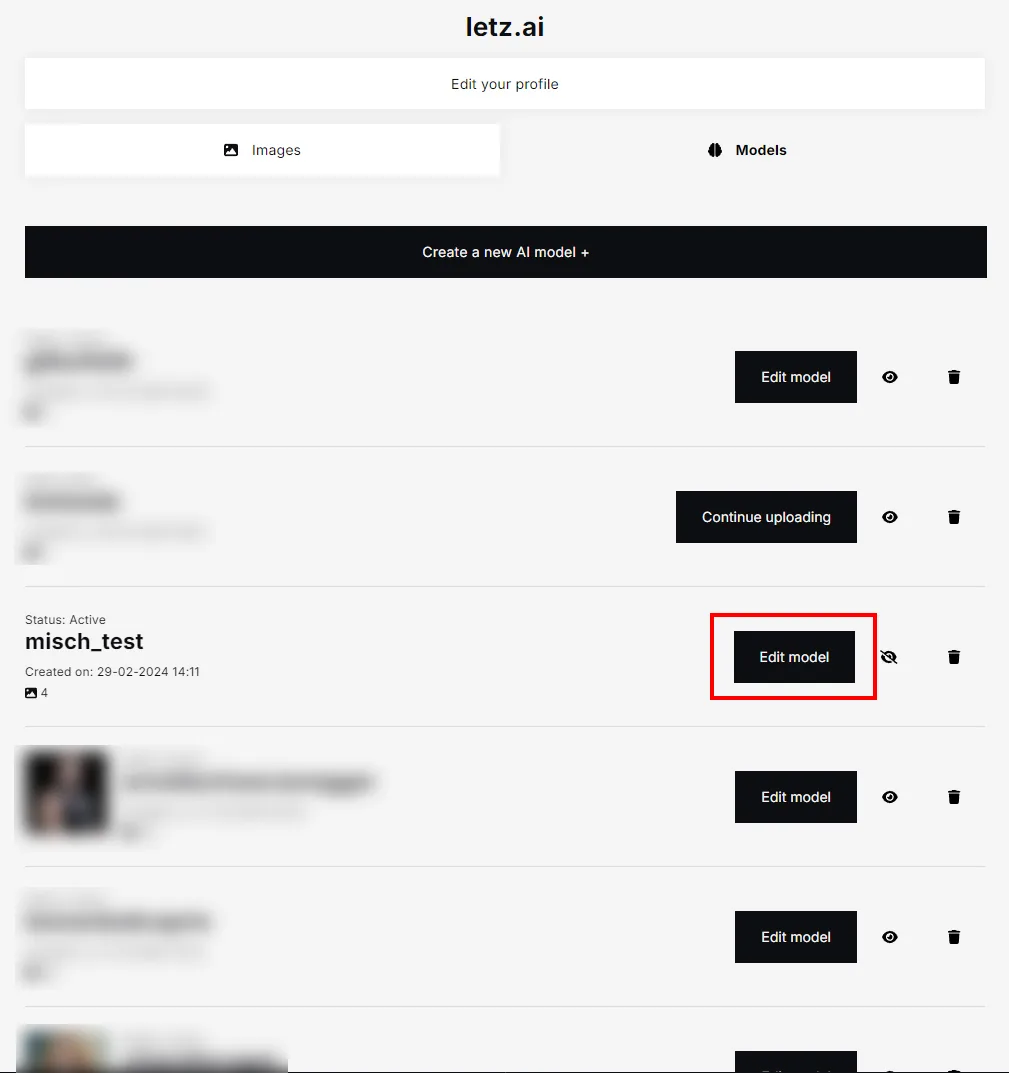
You can always adjust the type of your models by adding or removing details in the types section. Simply visit your profile, select the models tab, and modify the model to suit your preferences. Re-training is not necessary to update and change the model types.
Follow us on Twitter/X
The best way to keep up with everything LetzAI is following us on X.Here's a thread on how to develop consistent characters for example:
Did you know that you can easily develop a consistent character from the ground up with LetzAI?
— LetzAI (@letz_ai) March 14, 2024
Here’s how it works:
1. Generate a SINGLE image of a character
2. Create a model with just 1 image
More details in the 🧵 below 👇 pic.twitter.com/btHg5YXcVf