AI upscaling takes your images to the next level by increasing resolution while adding realistic detail. Unlike traditional upscaling that simply stretches pixels, AI upscaling intelligently generates new details — resulting in sharper, more detailed images at higher resolutions.
Our upscaling models
Magnific is our premium upscaler powered by Freepik's technology: up to 16x resolution increase, exceptional detail generation, customizable creativity levels, and best for portraits, products, and detailed scenes.
Standard upscalers provide fast, efficient upscaling for everyday use: choose a range between 4 and 12 megapixels, basic control over intensity with the strength slider, lower credit cost, and quick processing times.
How to upscale
- Navigate to Upscale: Click the Upscale tab
- Upload or select image: Choose the image you want to enhance
- Choose your upscaler: Select based on your needs and budget
- Set scale factor: Choose how much to increase the resolution
- Adjust settings: Configure creativity/enhancement levels if available
- Generate: Process the image and download your result
Creativity settings (Magnific): Low creativity stays faithful to the original. Medium offers balanced enhancement. High creativity adds more aggressive detail but may alter the image. Use lower creativity for portraits and precise work; higher for artistic pieces or landscapes.
Scale factors: 2x doubles both dimensions (good for moderate enhancement), 4x quadruples both dimensions (great for print-ready images), 8x and higher for large prints or professional work. For example, a 512×512 image becomes 1024×1024 at 2x, 2048×2048 at 4x, or 4096×4096 at 8x.
Best practices
Start with quality. Upscaling works best on images that are already reasonably clean. Heavily compressed or very low-resolution images may not upscale well. If possible, generate images at higher quality settings before upscaling.
Choose the right scale. Don't over-upscale — going too large can introduce artifacts. Consider your final use case (screen viewing vs. print). For most online uses, 2x–4x is sufficient.
Recommended workflow: Generate your image at the highest practical quality, edit to fix any issues while at lower resolution (faster and cheaper), upscale only when you're happy with the image, then make final adjustments in external software if needed.
Use cases
Print production: AI-generated images are often created at lower resolutions. Upscale to 300 DPI or higher for professional printing.
Social media: Starting with higher resolution gives better quality after platform compression.
Website and portfolio: Create crisp, professional images for showcasing your work.
Restoring old photos: Upscaling can breathe new life into old, low-resolution photographs.
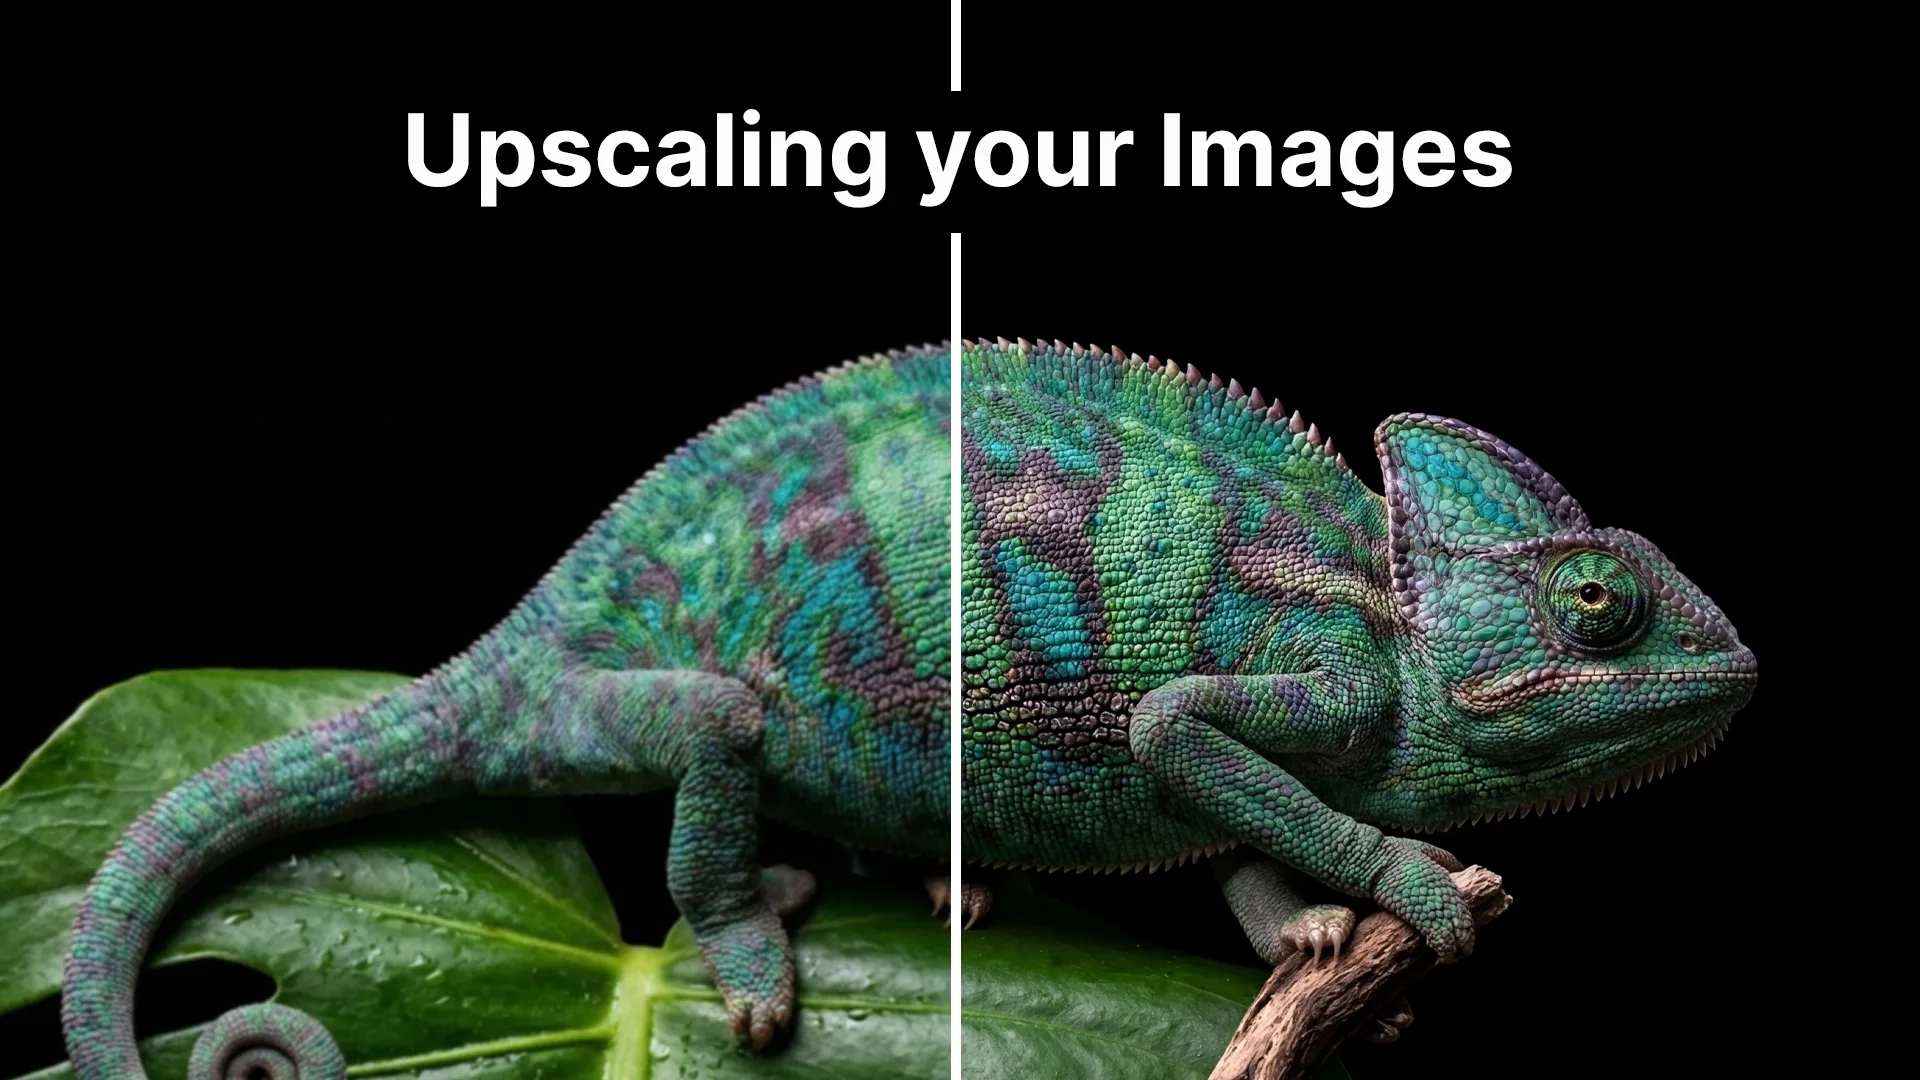
LetzAI includes a before/after comparison slider so you can verify the enhancement, check for unwanted changes, and compare different settings.
Troubleshooting and costs
Upscaled image looks artificial: Try a lower creativity setting, use a different upscaler, or scale by a smaller factor.
Details are blurry: Increase creativity slightly, or the original may be too low quality. Try Magnific for better detail generation.
Faces look wrong: Use lower creativity for portraits, or consider face restoration tools before upscaling.
Upscaling costs vary based on model (premium upscalers cost more), scale factor, and input image size. Check the credit cost display before generating.
Ready to enhance your images? Head to the Upscale tab and see the difference.